

 English
 Español

Replacing a chainsaw bar usually starts with a simple question: what size fits my saw? Many operators reach for a tape measure, run it from the tip to the tail of the bar, and order a replacement that is two inches too long. That mistake is common because the printed length on a chainsaw bar is not the overall length. It is the effective cutting length, measured as the distance from the front of the saw body to the tip of the bar. To get the right replacement the first time, measure that length correctly and then check the chain pitch, gauge, and drive link count.
Content
- 1 What "Bar Length" Actually Means
- 2 How to Measure a Chainsaw Bar Step by Step
- 3 The Three Chain Measurements That Match a Bar to a Chain
- 4 Choosing the Right Bar Length for Your Saw and Your Work
- 5 Nose Types and Construction: What the Measurement Means for the Order
- 6 Maintenance Checks That Keep Your Measurements Honest
What "Bar Length" Actually Means
When a manufacturer calls a bar an 18-inch bar, they are referring to the cutting length, not the physical length of the steel from tip to tail. The rear part of the bar slides into the saw's mounting slot, and that hidden portion varies from one saw model to another. As a result, an 18-inch bar from one series can have a slightly different overall length than an 18-inch bar from another series, even though the cutting reach is the same.
Most guide bars have the print length stamped into the tail or along the side. It may look like "18 3/8 1.3 56," which tells you the cutting length, chain pitch, gauge, and drive link count in that order. If the stamp is still readable, you can skip some of the manual measuring. If it is worn off, you need to measure each dimension yourself.
How to Measure a Chainsaw Bar Step by Step
Measure the effective cutting length first because it is the number used to match a bar to a saw. Work on a clean bench and keep the chain off while measuring.
- Disconnect the spark plug boot and wear cut-resistant gloves before handling the chain.
- Remove the chain and the bar from the saw. This gives you clear access to the nose and the tail mounting slot.
- Measure from the tip of the bar to the furthest point of the mounting slot that sits at the front of the saw body. This is the effective length. Do not measure the full tip-to-tail length.
- Check the stamped numbers on the tail. If they are readable, record the length, pitch, gauge, and drive link count.
- If the stamp is missing, measure the chain as described in the next section and count the drive links.
For a fixed nose bar, such as a hardnose guide bar, the cutting length is the same from the nose tip to the base of the bar. The measurement process is identical, but the nose is not designed to be replaced.
 Hardnose Guide Bar for Abrasive Cutting ConditionsThis fixed-nose guide bar suits abrasive work like cutting near dirt or concrete, where a simple solid tip reduces maintenance. The measurement method stays consistent with other bars, but the nose is not replaceable.View Product →
The Three Chain Measurements That Match a Bar to a Chain
A chainsaw bar is only half of the cutting system. The chain must match the bar's groove and nose, so you need to measure three chain dimensions as well.
| Measurement | What It Means | How to Check It |
|---|---|---|
| Pitch | The distance between two chain drive links, divided by two. Common sizes are 3/8" LP, 3/8", 0.325", and 0.404". | Measure the distance between three consecutive rivets on a drive link, then divide by two. |
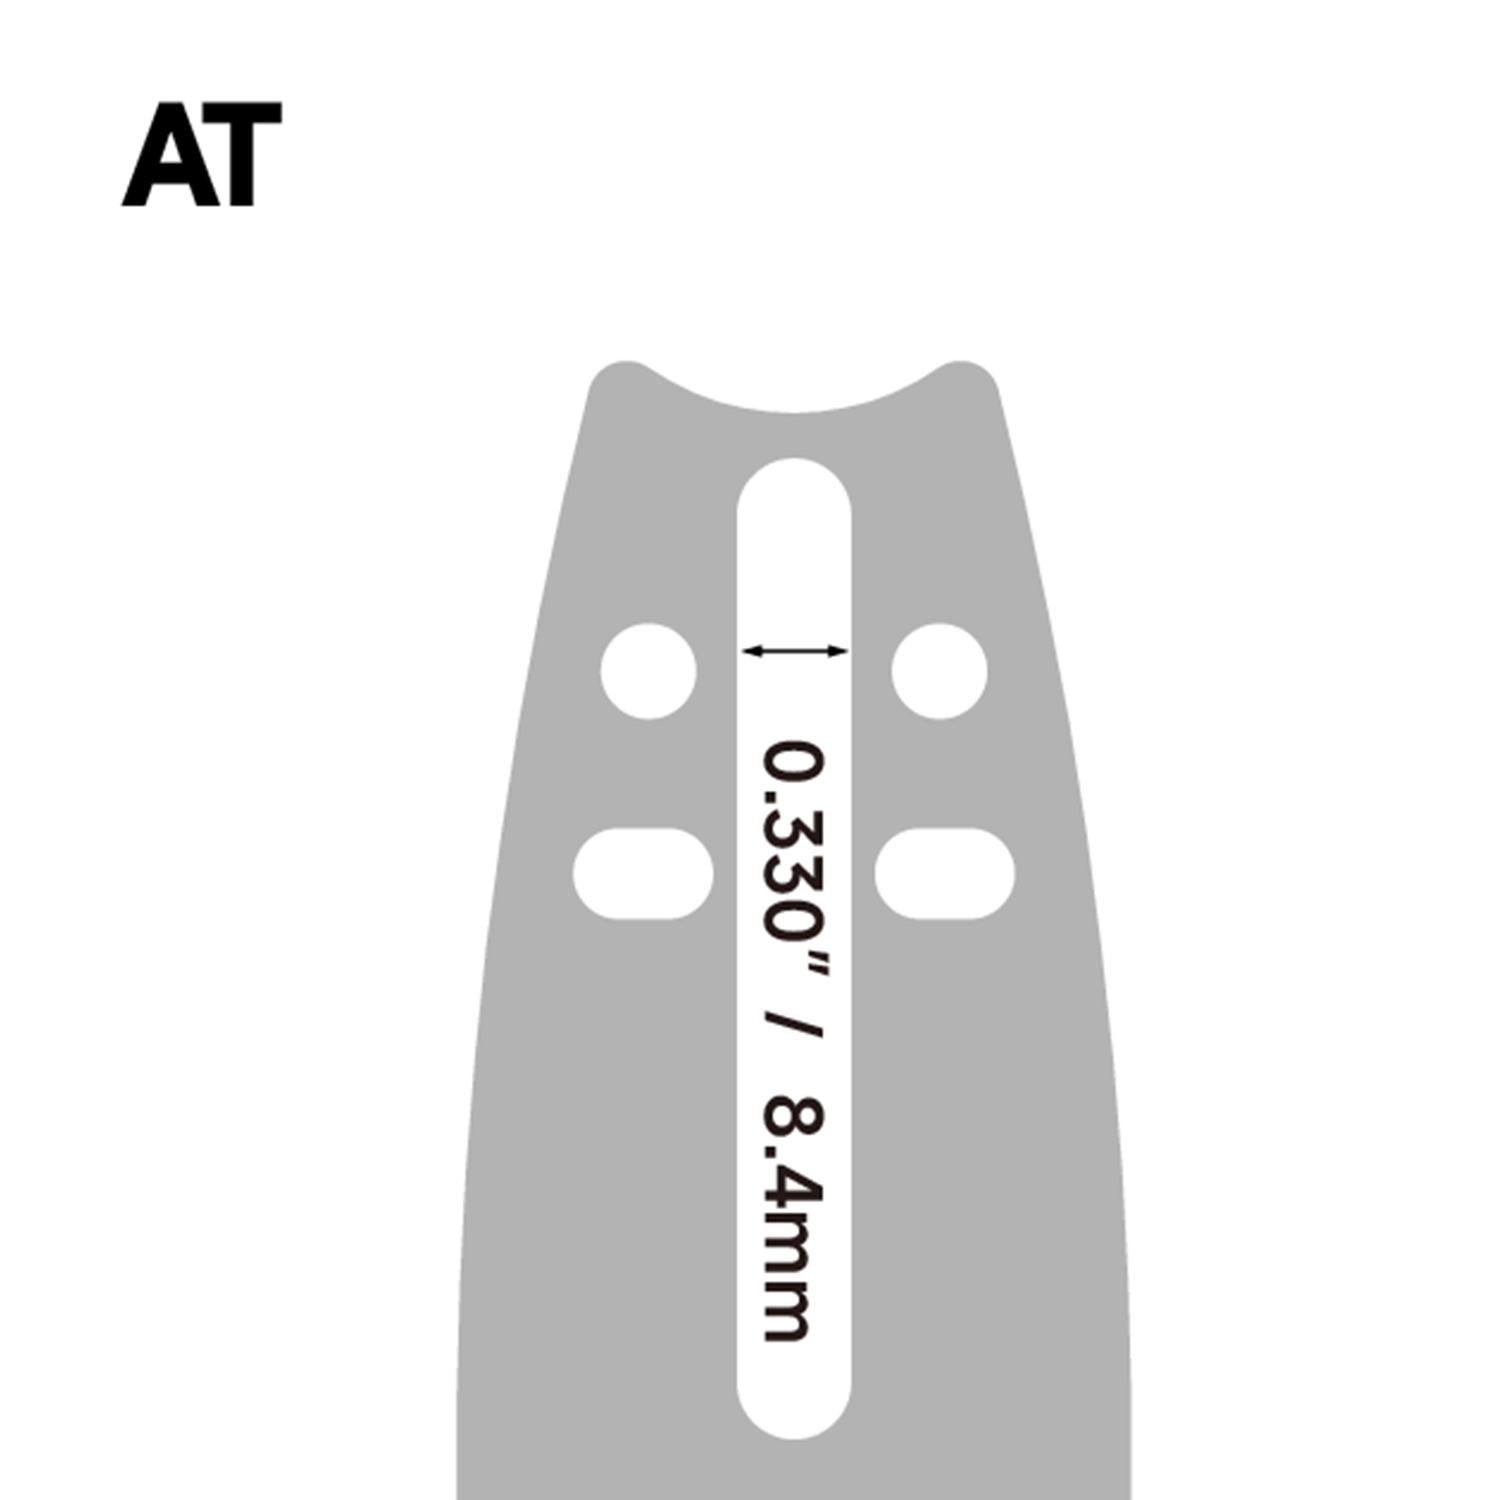
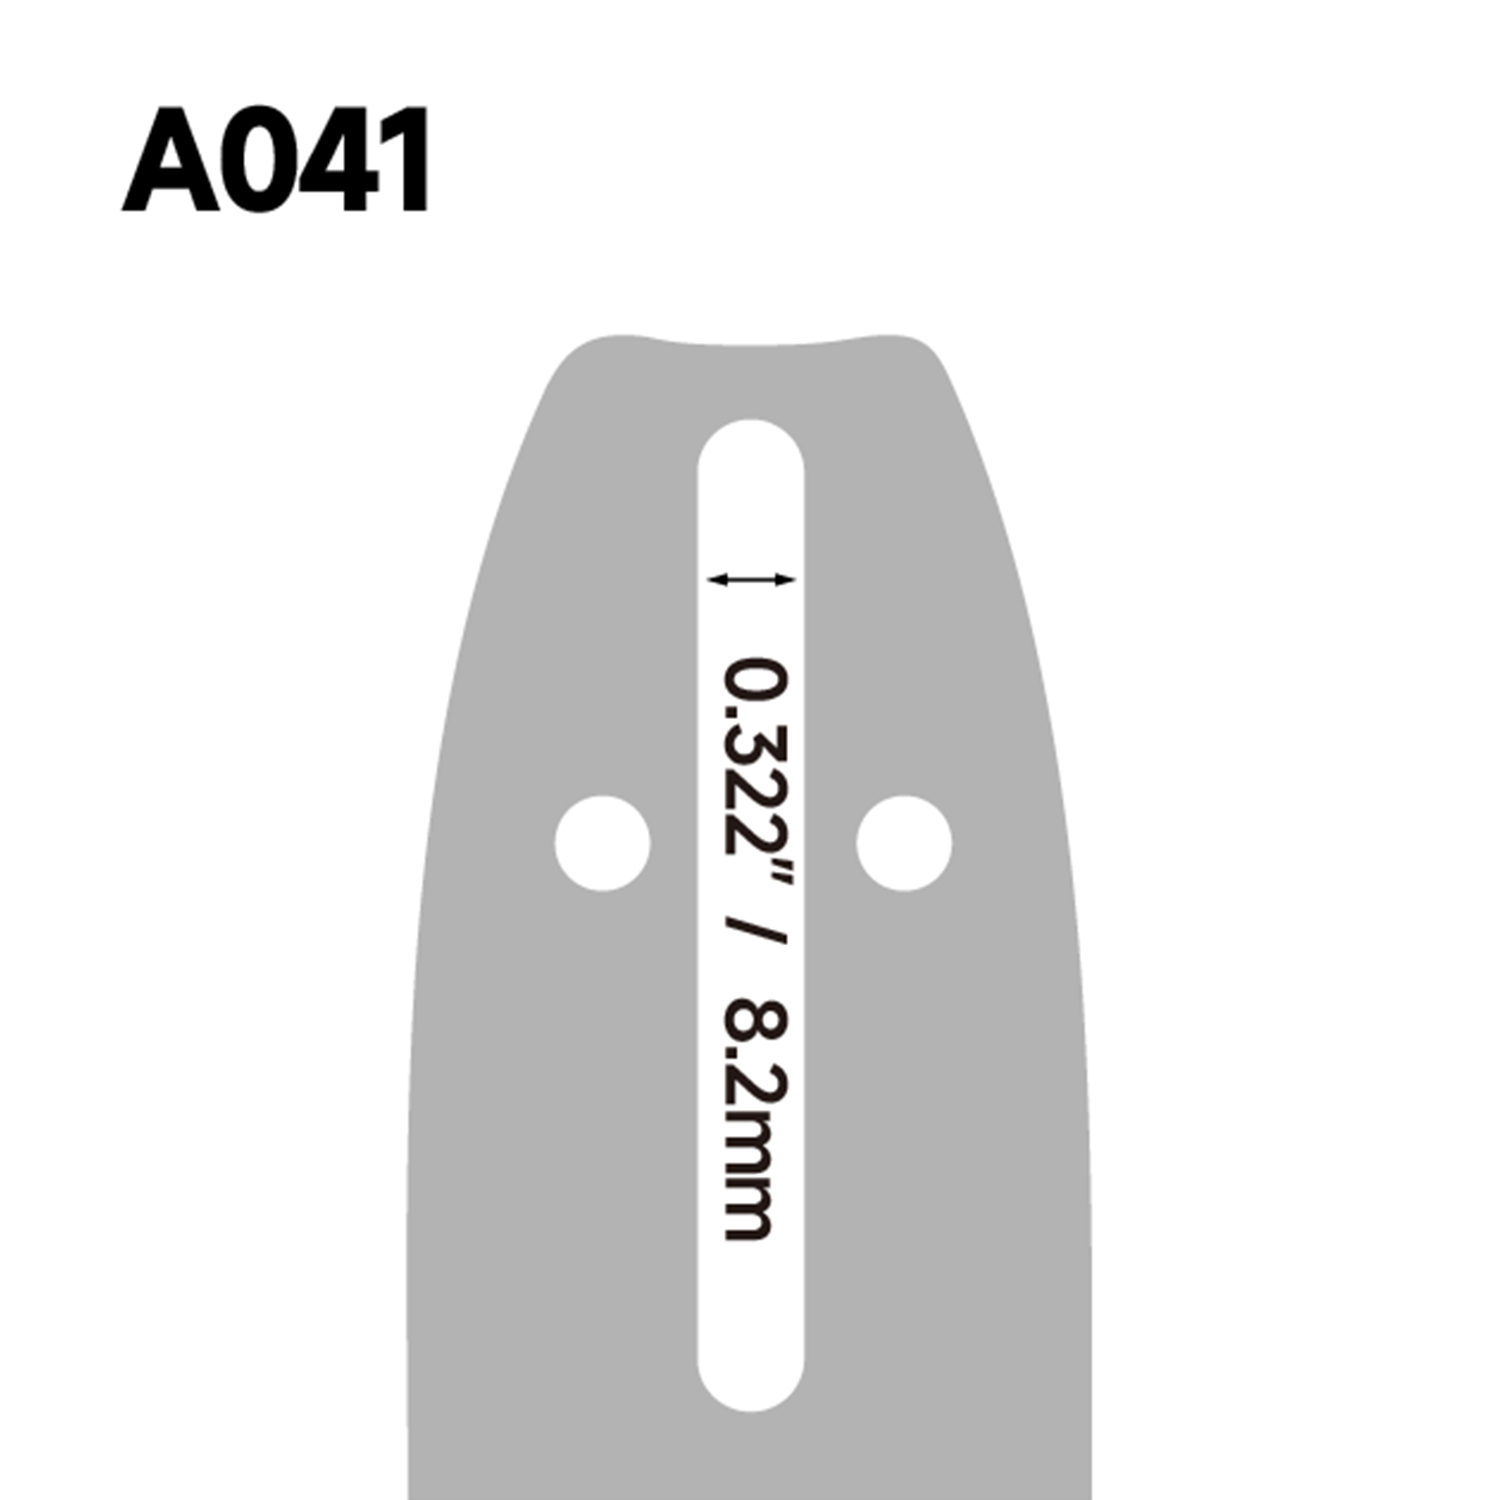
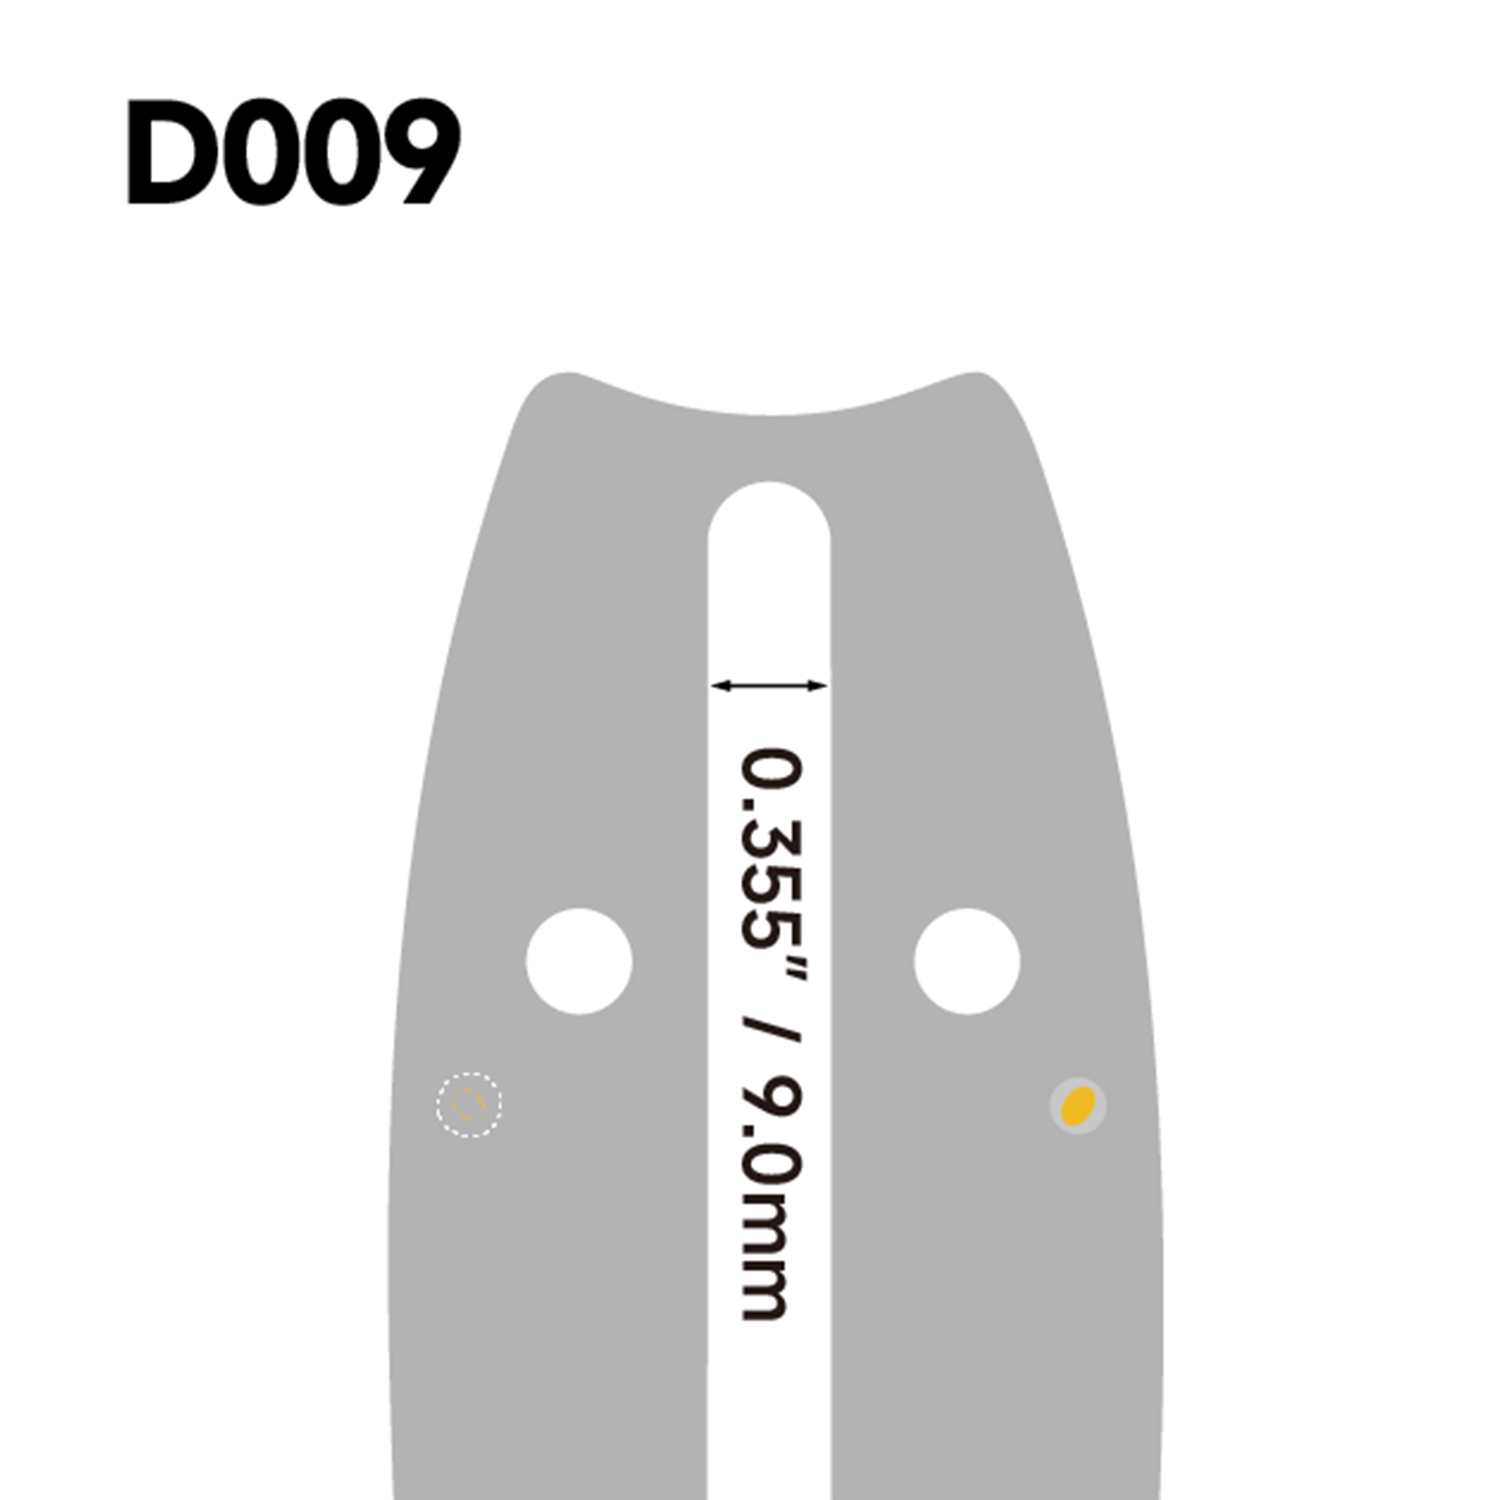
| Gauge | The thickness of the drive link that fits into the bar's groove. Common sizes are 0.043" (1.1 mm), 0.050" (1.3 mm), 0.058" (1.5 mm), and 0.063" (1.6 mm). | Use a gauge tool or caliper on the drive link tab. |
| Drive link count | The number of drive links in the chain loop. This determines the correct chain length for a bar. | Count each drive link one by one around the loop. |
These three values, combined with bar length, are what a manufacturer uses to list a chain as compatible with a bar. Do not rely on the bar length alone. A 16-inch bar from one maker can use a different chain than a 16-inch bar from another if the gauge or pitch is different.
Choosing the Right Bar Length for Your Saw and Your Work
Once you know how to measure, you still need to decide whether the measured length is right for the job. Short bars from 12 to 16 inches give better maneuverability, lower weight, and less strain on small engines. They are a strong fit for limbing, pruning, and cutting small firewood. Longer bars from 20 to 24 inches add reach and let you cut thicker logs, but they put more load on the engine and demand a higher chain speed.
As a general rule, match bar length to engine displacement. A 35-40 cc saw handles 14 to 16 inches, a 45-55 cc saw handles 16 to 20 inches, and a 60 cc or larger saw can pull 20 inches and up. Overloading a saw with too long a bar causes bogging, overheating, and premature clutch wear. Underusing a long bar when you work with large timber means extra passes and wasted time.
For home firewood and general ranch use, a laminated guide bar is a dependable balance of cost and straightness. The layers press the side plates together and hold the groove open while keeping the bar lighter than a solid alloy bar. If your work is mostly occasional cutting, this style gives predictable performance without the higher price of professional parts.
 Laminated Guide Bar for Lightweight Reliable CuttingIdeal for occasional firewood and ranch use, this laminated bar balances cost, weight, and straightness. Its layered steel construction keeps the groove stable without the higher price of professional-grade options.View Product →
Nose Types and Construction: What the Measurement Means for the Order
The nose of a guide bar changes how the chain travels around the tip and how you maintain the bar. A hardnose bar has a solid fixed nose with a machined slot. It is simple, cheap, and works well in abrasive conditions such as cutting near dirt or concrete, but it runs slower than a sprocket nose because the chain slides around the curve. A replaceable sprocket nose bar has a small sprocket at the tip that reduces friction and keeps chain speed higher. When the tip becomes worn, you can replace just the nose instead of the whole bar, which is why this design is common on professional saws.
From a measurement standpoint, both styles use the same effective length: nose tip to mounting slot base. The difference matters when you order a replacement nose or a new chain. A sprocket nose bar can also add a small amount of cutting capacity because the sprocket lifts the chain slightly at the tip, but the rated bar length remains the printing on the tail.
Laminated construction uses layers of steel riveted together to form a lightweight bar. Solid alloy bars are machined from a single billet and hold the groove shape longer under continuous cutting. If you work in dirty or dusty environments, a hardnose or solid bar may reduce maintenance. For clean wood and firewood, laminated bars remain a solid choice.
 Replaceable Sprocket Nose Guide Bar for Professional UseThis bar features a sprocket at the tip to reduce friction and maintain chain speed, and the nose can be swapped when worn. It is a common choice for professional saws requiring extended durability.View Product →
No matter which nose type you use, measuring the bar correctly is only the first step. The nose and rails wear during daily work, and that wear changes how the chain tracks. Check the bar rails with a straightedge, file away mushroomed edges, and replace a worn sprocket nose before it distorts the chain line.
Maintenance Checks That Keep Your Measurements Honest
Worn bars cause inaccurate chain fit even if you measured the length correctly. The groove width can flare at the nose, especially on laminated bars, and a bent bar changes the cutting line. Inspect every bar before you remount it: lay the bar flat on its side and confirm the rails are straight, check the groove depth with a gauge, and look for cracks near the mounting slot. If the bar has a replaceable nose, turn the sprocket by hand and make sure it spins freely without wobble.
Chain tension also has a direct effect on bar wear. A loose chain whips around the nose; a chain that is too tight squeezes the rails and heats the bar. That link between tension and wear is one more reason to measure both the bar and chain carefully.
You can learn more about how the design of a guide bar affects cutting safety and efficiency if you plan to upgrade your equipment.
Proper measurement is not just a math exercise. It prevents buying the wrong chain, avoids returning parts, and keeps the saw safe. Start with the effective bar length, confirm the pitch, gauge, and drive link count, then choose the nose and construction that fit your work. If you need a replacement, keep the numbers you measured and match them against the manufacturer's specification table.

