

 English
 Español

You are replacing a guide bar, and the size chart on the package lists more numbers than the saw manual explains. The fastest way to make the right call is to understand what those numbers actually measure. A chainsaw bar size chart is built around four values: bar length, chain pitch, chain gauge, and drive link count. When all four match your saw, the bar bolts on and the chain tracks straight. When even one is off, the chain derails, the bar overheats, and cutting performance drops immediately. Here is how to read each number and verify it before you order a replacement.
Content
How to Measure a Chainsaw Bar Before You Buy
Bar length on a size chart means cutting length, not the physical length from tail to nose tip. To measure it correctly, put the saw on a flat bench, place the end of a tape measure at the front edge of the saw housing where the bar exits the body, and pull the tape straight to the farthest point of the bar nose. Round that value up to the nearest even inch. A measurement of 14.5 in therefore rounds up to 16 in, and a 16 in replacement bar is the correct part.
The old bar also carries useful stamps near its tail. Many manufacturers mark pitch, gauge, and drive link count directly into the steel. When those marks are still readable, they are more reliable than any chart. When they are worn off, the numbers stamped on the chain provide the same information: count one drive link, measure its thickness for the gauge, and measure the spacing for the pitch.
- Cutting length: measure from the saw body to the bar tip, then round up to an even number.
- Mount type: check that the bar tail slot and oil holes line up with the saw studs.
- Nose condition: if the nose sprocket is loose or damaged, the bar needs replacing, not rebuilding.
- Chain match: a bar is only as good as the chain; record pitch, gauge, and drive link count from the old chain.
Chainsaw Bar Size Chart by Engine Power
Engine displacement is the best single predictor of the bar length a saw can drive. The cc rating reflects torque, and torque decides how long a chain loop the saw can keep moving through wood without bogging. The ranges below summarize what manufacturers mount across common saw classes. Treat them as starting points; the saw's own manual is the final authority.
| Engine displacement (cc) | Bar length range |
|---|---|
| Less than 25 cc | 10–12 in |
| 26–35 cc | 12–16 in |
| 36–45 cc | 14–20 in |
| 46–60 cc | 16–24 in |
| 61–75 cc | 18–28 in |
| Above 75 cc | 24–36 in and longer |
Choose the shorter end of the range unless you regularly cut logs thicker than the bar diameter. A shorter bar spins the chain faster, improves the saw's balance, and reduces kickback risk because less chain is exposed above the workpiece. A longer bar gives more reach and a bigger cut capacity, but it slows the chain in hardwoods and exposes the clutch and drive sprocket to higher loads. On a 50 cc saw, moving from 18 in to 24 in can be the difference between a clean cut and a stall in oak.
Chain Pitch, Gauge, and Drive Link Count
Bar length alone does not identify a chain. The chain that runs in the groove is defined by three more numbers, and every one of them must match the bar and the saw sprocket.
Pitch
Pitch is the distance between drive links, measured as the span between any three consecutive rivets divided by two. It must match the drive sprocket on the saw and the nose sprocket on the bar. The table below groups the common pitch values by the saw classes that use them.
| Chain pitch | Typical saw class |
|---|---|
| 1/4 in | Pole pruners and carving saws |
| 3/8 in LP | 25–45 cc homeowner saws |
| .325 in | 40–60 cc mid-range and professional saws |
| 3/8 in | 50–90 cc professional felling saws |
| .404 in | 80 cc and above, high-torque saws |
Low-profile 3/8 in LP is the most frequent choice on household saws because it produces lower kickback. Full-size 3/8 in and .325 in dominate mid-range and professional saws, and .404 in appears mainly on high-torque felling and milling saws. If a size chart lists only the length, the pitch must still be read from the old chain.
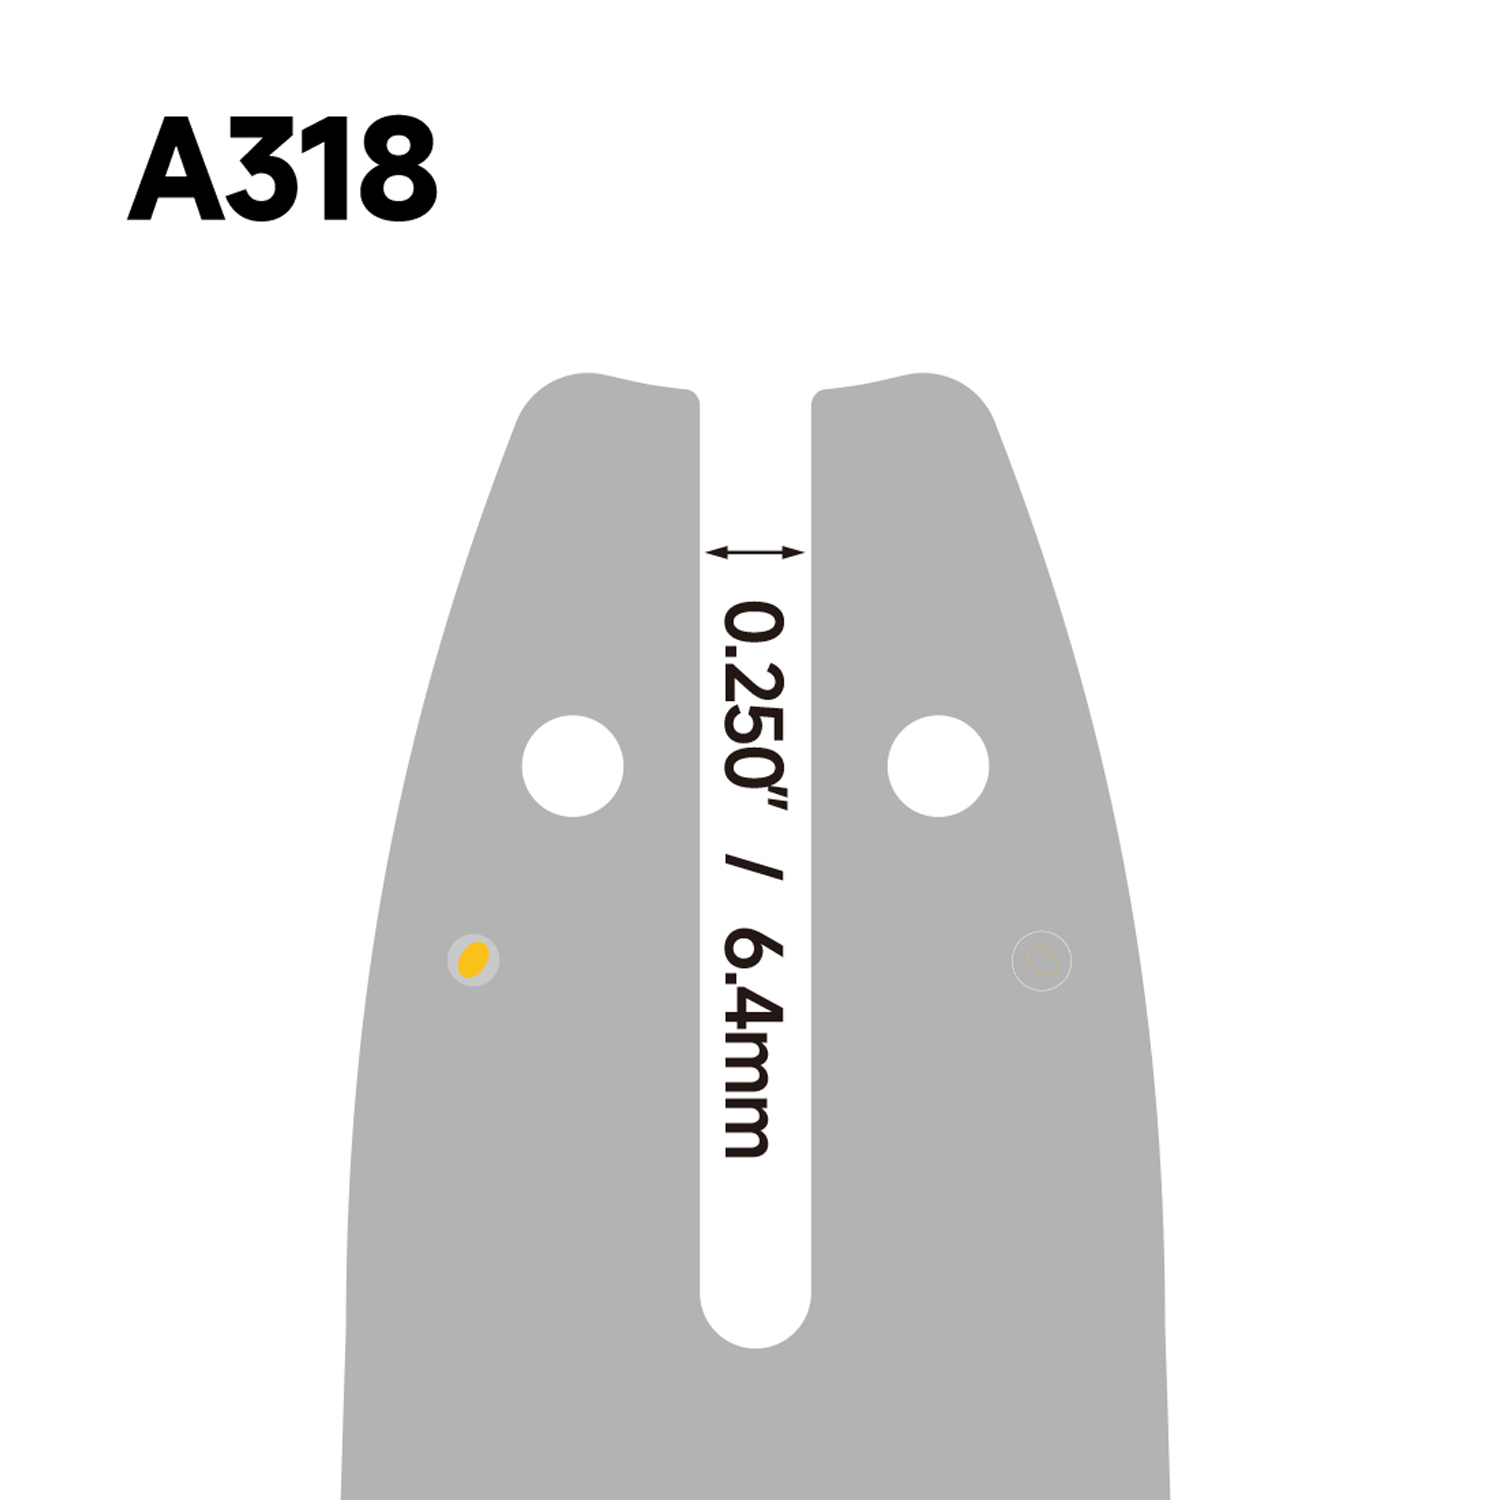 3/8" LP Pitch Chainsaw Chain with Precise Gauge FitThis low-profile 3/8 inch LP chain suits household saws with lower kickback. Matching its gauge to your bar groove is essential, so verify drive link tang thickness before installation.View Product →
Gauge
Gauge is the thickness of the drive link tang that slides into the bar groove. Common values are .043 in, .050 in, .058 in, and .063 in. When the tang is thicker than the groove, the chain will not seat and runs with excess friction. When it is thinner, the chain wobbles sideways and cuts a crooked kerf. Always measure the tang with a caliper instead of guessing, because two chains with identical pitch can have different gauges.
Drive Link Count
Drive link count determines the loop length. Lay the old chain flat on the bench and count every link that has a tang on the underside; include the riveted links, not just the cutters. A 16 in bar can use different drive link counts depending on the nose style, so the count on the old chain is the only count that matters for replacement.
Matching the Replacement Bar to Your Saw
With length, pitch, gauge, and drive link count recorded, check three physical details before ordering. First, the tail mount: bars for small saws have a different stud slot than bars for large saws, and the slot must line up with the studs in the saw body. Second, the oiling channel: the bar has to deliver oil from the pump to the groove, so the inlet hole and distribution channels on the tail must match the saw's oil outlet. Third, the nose sprocket: if the old bar's nose sprocket is dry, cracked, or tight, replace the complete bar or install a new nose sprocket rather than reusing the worn one.
The clutch drum deserves the same attention. A sprocket drum with worn teeth can stretch a new chain within a few tanks and score a new bar groove, which is the most common early failure after a guide bar replacement. If the old chain shows polished or hooked drive link tangs, the drum is already worn and should be changed at the same time.
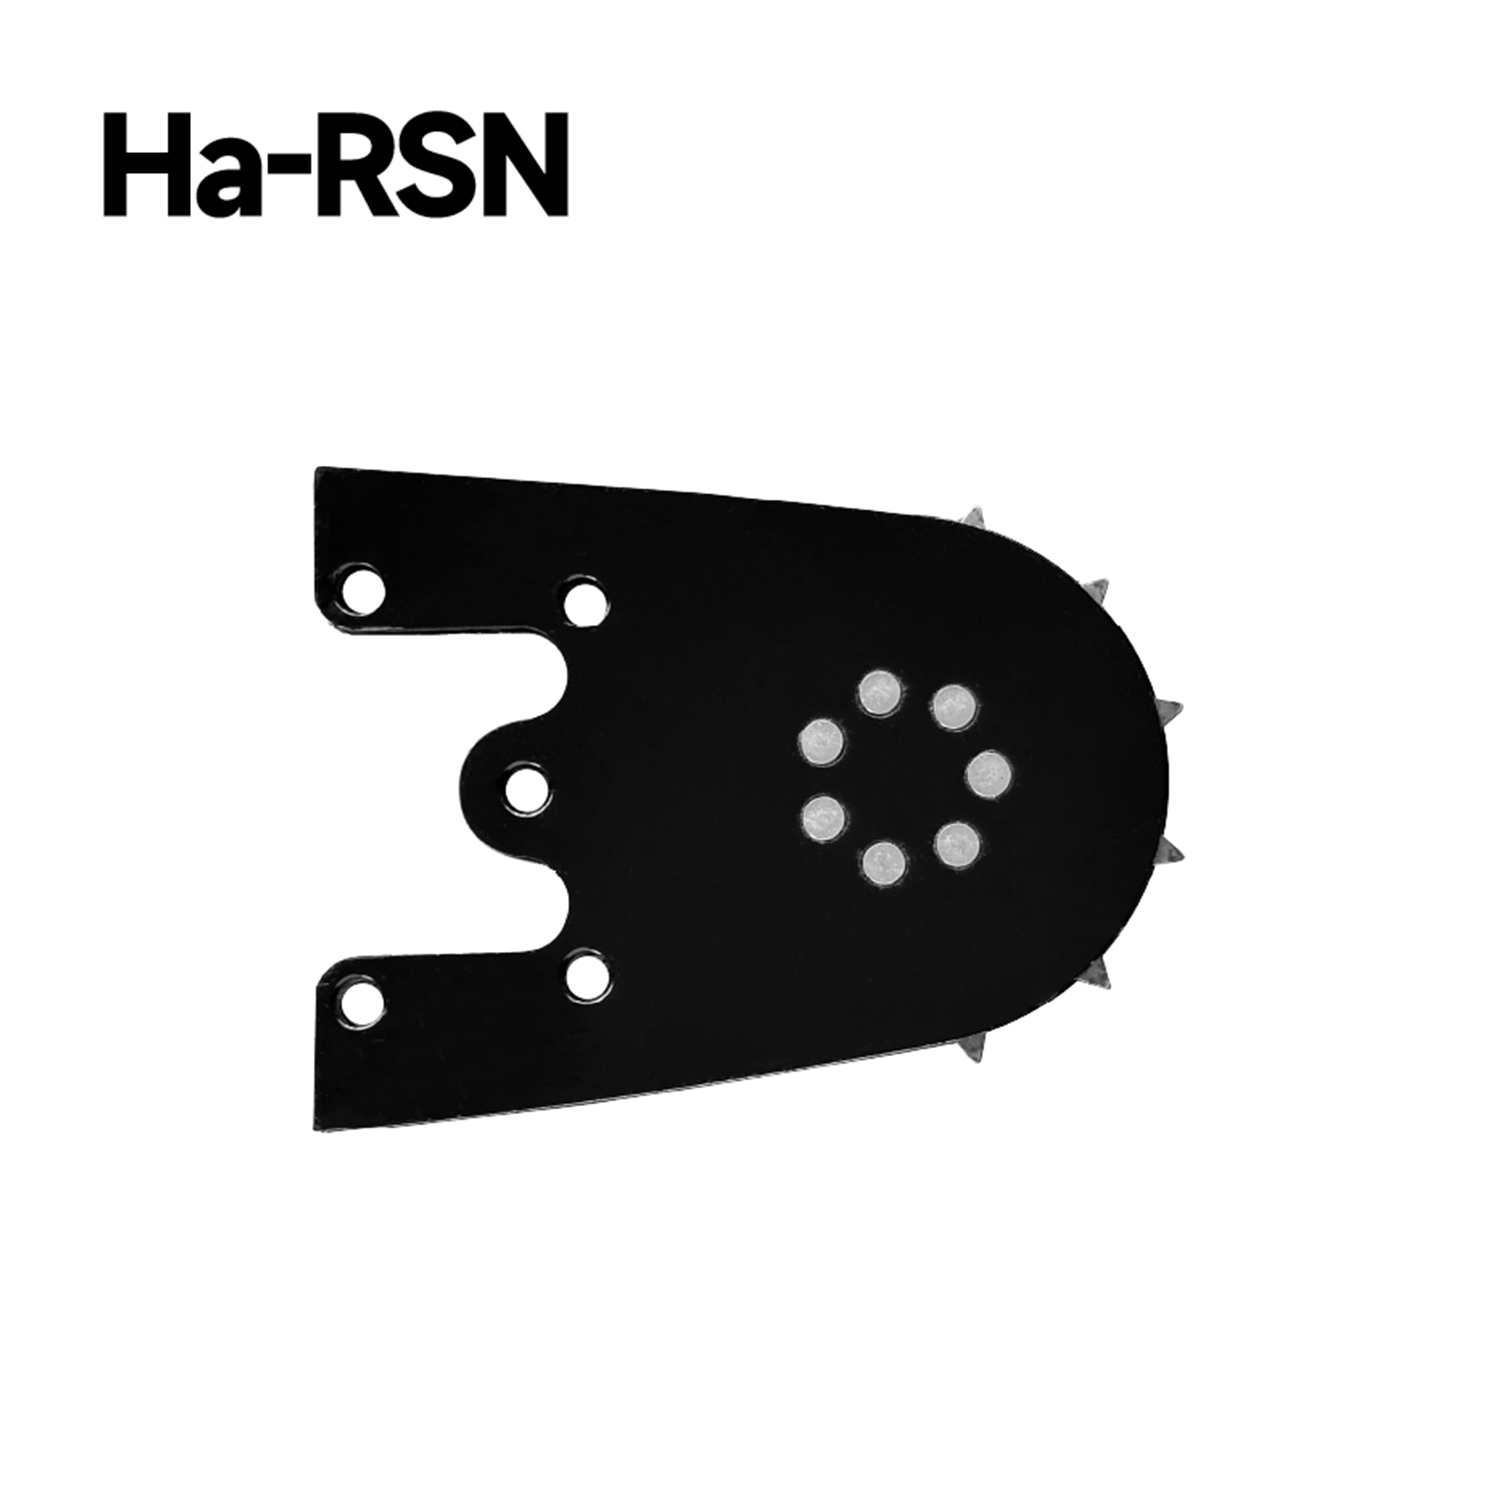 Replacement Sprocket Nose for Guide BarsWorn clutch drum teeth can quickly damage a new chain and bar. This replacement sprocket nose kit helps maintain proper drive and extends the service life of your guide bar assembly.View Product →
Types of Guide Bars and What They Change
Guide bars are not interchangeable pieces of steel; their internal construction changes lubrication, wear, cost, and service life.
- Laminated bars are made from stamped steel layers riveted together. They are light, inexpensive, and standard on homeowner saws. Their main drawback is a narrow groove that can widen under continuous professional use.
- Hardnose bars use a solid steel body with a welded nose and a replaceable nose sprocket. They tolerate dirt and impact well, but the nose sprocket needs disciplined greasing to avoid dry running.
- Replaceable sprocket nose bars have a separate sprocket at the nose that turns with the chain. They reduce friction at the tip, keep the chain cooler, and allow the sprocket to be swapped when it wears, which makes them the preferred type for high-volume cutting. The design choices also shape safety, as guide bar design impacts overall safety and cutting efficiency in measurable ways.
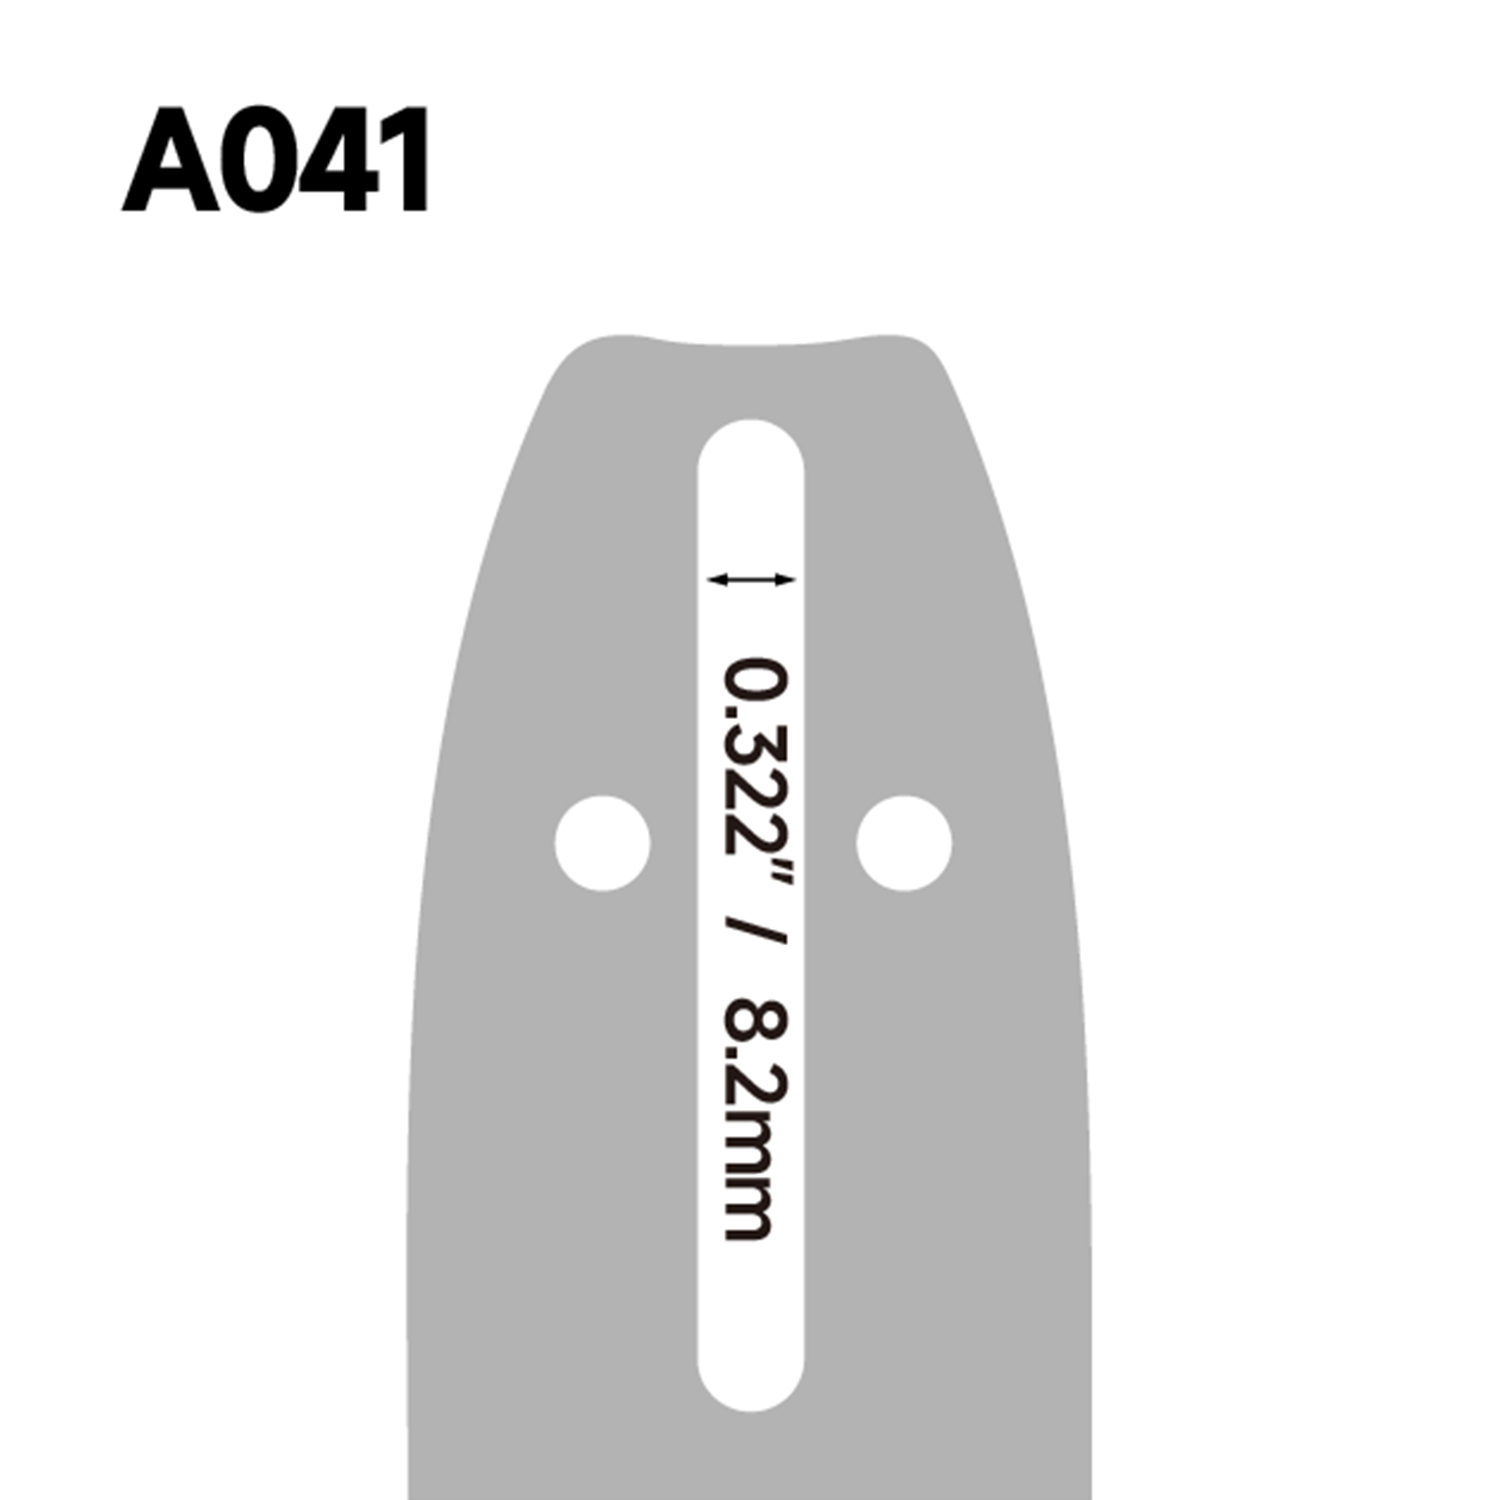 Laminated Guide Bar for Occasional CuttingFor firewood cutting a few times a season, this laminated bar balances cost and capability. Its construction affects lubrication and wear, making it a practical choice for light-to-moderate use.View Product →
If you cut firewood a few times per season, a laminated bar is a reasonable balance of cost and capability. If you cut all day or professionally, a replaceable sprocket nose bar will save time and money over a season because the nose sprocket can be replaced instead of scrapping the whole bar. The bar type does not change the size chart, but it changes the maintenance schedule.
Final Checks Before the Bar Goes On
After mounting the new bar, set chain tension correctly because the tension directly affects how fast the bar wears. A loose chain slaps against the groove and erodes the sidewalls; an over-tight chain pulls the nose sprocket bearing and generates heat. Adjust the tension with the bar tip lightly held up, snug the side nuts, then tension the chain so it lifts just off the bar rails at the midpoint. The relationship between tension and bar wear is direct, and the chain tension of the guide bar affects wear resistance more than any other daily adjustment.
Finally, run the saw for a minute at idle and watch the oil port. If no oil appears on the bar groove, the oiler is blocked or the bar's oil holes do not line up. Stop the saw, re-check the bar tail, and clear the oil channel before cutting. A bar that runs dry will score within minutes, and a size chart cannot fix that. Once the oil flows and the chain tracks straight, the new bar is ready for work.

