
Content
Introduction to Sprocket Nose Replacement
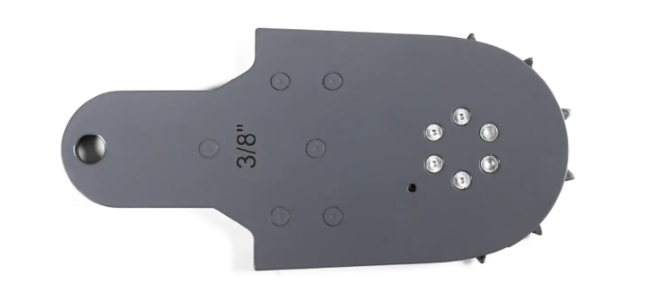
The sprocket nose is a critical component in chain-driven machinery, transmitting torque and maintaining proper chain alignment. Over time, wear or damage can compromise performance, making timely replacement essential. Performing the replacement correctly ensures safety, minimizes downtime, and extends equipment lifespan. This article provides a detailed, step-by-step guide to the correct operating procedure for replacing a sprocket nose.
Safety Precautions Before Replacement
Prior to beginning the replacement, several safety measures must be followed to prevent accidents and equipment damage.
Shut Down Equipment
Ensure that the machinery is fully powered off and isolated from energy sources. Lockout-tagout procedures should be applied to prevent accidental start-up during maintenance.
Personal Protective Equipment
Operators should wear appropriate PPE, including gloves, safety glasses, and steel-toed footwear. Additional protective clothing may be required if working near moving components or in high-temperature environments.
Inspect Tools and Workspace
Before starting, ensure all tools are in good condition and properly rated for the task. The workspace should be clean, organized, and free of debris to reduce the risk of accidents.
Step-by-Step Replacement Procedure
Replacing sprocket nose involves several precise steps to maintain alignment and avoid damaging the chain or surrounding components.
Step 1: Loosen Chain Tension
Release tension from the chain connected to the sprocket nose. Use the chain tension adjustment mechanism or manually reposition the chain. Proper tension release prevents chain binding and makes the sprocket easier to remove.
Step 2: Remove Retaining Fasteners
Identify all bolts, nuts, or locking devices securing the sprocket nose. Using the correct wrench or socket, loosen and remove these fasteners carefully. Keep track of all hardware for reinstallation.
Step 3: Detach the Sprocket Nose
Gently pull the sprocket nose away from the shaft. If resistance is encountered, lightly tap with a rubber mallet to avoid damaging the component. Avoid using excessive force, as this could deform the sprocket or shaft.
Step 4: Inspect Components
Examine the shaft, keyways, and surrounding components for wear or damage. Ensure the new sprocket nose matches the specifications of the original part, including pitch, diameter, and bore size.
Step 5: Install the New Sprocket Nose
Align the new sprocket nose with the shaft keyway. Slide it gently into place, ensuring a snug fit without forcing it. Verify alignment visually and, if necessary, use a dial indicator to confirm precise positioning.
Step 6: Secure Fasteners
Reinstall the bolts, nuts, or locking devices that secure the sprocket nose. Use a calibrated torque wrench to tighten fasteners according to manufacturer specifications, ensuring even and secure installation.
Step 7: Re-Tension the Chain
Adjust the chain tension to meet operational requirements. Check alignment along the sprocket teeth to prevent uneven wear and ensure smooth movement.
Step 8: Perform Functional Tests
Manually rotate the sprocket and chain to verify smooth operation. Power on the machine at low speed to check for unusual noise, vibration, or misalignment. Address any irregularities before full operation.
Maintenance Tips for Sprocket Nose Longevity
Proper maintenance after replacement can extend the lifespan of the sprocket nose and associated chain components.
Regular Lubrication
Lubricate the sprocket teeth and chain regularly with manufacturer-recommended grease or oil. Proper lubrication reduces friction, heat, and wear, maintaining smooth operation.
Periodic Inspection
Check the sprocket nose for signs of wear, corrosion, or misalignment during routine maintenance. Early detection of issues prevents equipment downtime and reduces repair costs.
Monitor Chain Condition
A worn or stretched chain can accelerate sprocket nose wear. Replace or adjust the chain as needed to maintain proper engagement with the sprocket teeth.
Comparison of Common Replacement Approaches
The table below highlights different replacement strategies and their impact on operational safety and efficiency:
| Method | Pros | Cons |
|---|---|---|
| Manual Replacement | Low cost, simple tools required | Time-consuming, risk of misalignment |
| Professional Service | Expert handling, faster, ensures alignment | Higher cost, scheduling required |
| Automated Tool Assistance | Precision, reduces human error | Equipment investment required |
Conclusion
Replacing a sprocket nose is a critical maintenance task that requires careful adherence to safety protocols and precise operating steps. Following the correct procedure—from loosening the chain and removing fasteners to installing the new sprocket, securing fasteners, and re-tensioning the chain—ensures operational safety and longevity. Regular maintenance, lubrication, and inspection further extend the lifespan of both the sprocket nose and the chain, contributing to efficient and reliable machinery performance.