

 English
 Español


A 20-inch chainsaw bar usually does not measure 20 inches from end to end. The number on the bar is the cutting length: the distance from the bar tip to the point where the bar enters the saw body. That is the measurement a dealer or replacement-bar listing expects, and it is the one most often confused with the bar's overall length.
Measure with the bar mounted, the chain removed, and the saw disconnected from power. Let the bar cool, wear gloves, and run a straight tape or rule along the centerline from the tip to the front of the saw body. Read the number at the saw body, not at the end of the tail hidden inside the crankcase. The result should be close to the advertised length. If it falls between two even sizes, move to the next even number only after checking the bar mount and chain specs. Length alone does not make a bar fit.
Content
- 1 The Short Answer: Measure Cutting Length, Then Confirm the Mount
- 2 How to Measure the Bar in Three Steps
- 3 How to Measure a Chainsaw Chain for the Same Bar
- 4 Matching a Replacement Bar to the Saw, Not Just the Cut
- 5 Where to Find the Numbers Without a Tape
- 6 Common Measuring Mistakes That Cause a Bad Fit
- 7 When the Bar Is Worn Enough to Replace
The Short Answer: Measure Cutting Length, Then Confirm the Mount
The advertised bar length is nominal cutting length. It is not the full metal length, and it is not the chain length. A bar sold as 18 inches may measure 18 inches from tip to saw body, while its overall length from tip to tail can be 20 inches or more because the tail sits inside the saw. If you measure the whole bar off the saw, you will order the wrong size.
For a replacement, use the stamped number near the tail as the first reference. If the stamp is gone, mount the bar and measure from tip to saw body. Then match the bar mount: slot width, tail shape, oil holes, and adjuster hole. The bar must oil and sit straight before length has any value.
| What to check | How to check it | Why it matters |
|---|---|---|
| Cutting length | Measure from bar tip to saw body with the bar mounted and chain removed. | Gives the nominal replacement bar length. |
| Bar mount | Compare slot width, tail profile, oil holes, and adjuster hole. | A bar with the wrong mount will not fit, oil, or tension correctly. |
| Pitch | Measure across three rivets and divide by two, or read the stamp. | The chain and nose sprocket must share the same pitch. |
| Gauge | Measure the drive link tang with a gauge tool, or read the stamp. | The drive links must fit the bar groove without slop or binding. |
| Drive link count | Count every drive link on the old chain and confirm the bar spec. | Pitch and gauge can be right while the chain is still too short or too long. |
How to Measure the Bar in Three Steps
- Disconnect and clear the saw. Remove the chain, disconnect the spark plug lead or battery, and let the bar cool. A moving chain or hot bar turns a simple measurement into a shop injury.
- Measure from tip to saw body. Hold a straight rule or tape along the bar centerline. Start at the tip and stop at the front edge of the saw body. Do not include the tail hidden inside the saw.
- Round and record. If the result is close to an even inch size, use that nominal size. If it falls between sizes, check the mount and choose the next even size that the saw can pull and oil. Write down the length, mount, pitch, gauge, and drive link count before ordering.
How to Measure a Chainsaw Chain for the Same Bar
Bar length does not tell you which chain fits. A 20-inch bar can take different chain pitches and gauges, and the nose sprocket must match the chain pitch. Measure the old chain before it is discarded, especially if the bar stamp is worn.
Pitch is the distance between three consecutive rivets divided by two. Common sizes are 3/8 low profile, .325, 3/8, and .404. Gauge is the thickness of the drive link tang that runs in the bar groove, usually measured with a gauge tool and expressed as .043, .050, .058, or .063 inch. Drive link count is exactly what it says: count every drive link on the chain. A stretched old chain can give a false length, so count again and compare with the bar specification.
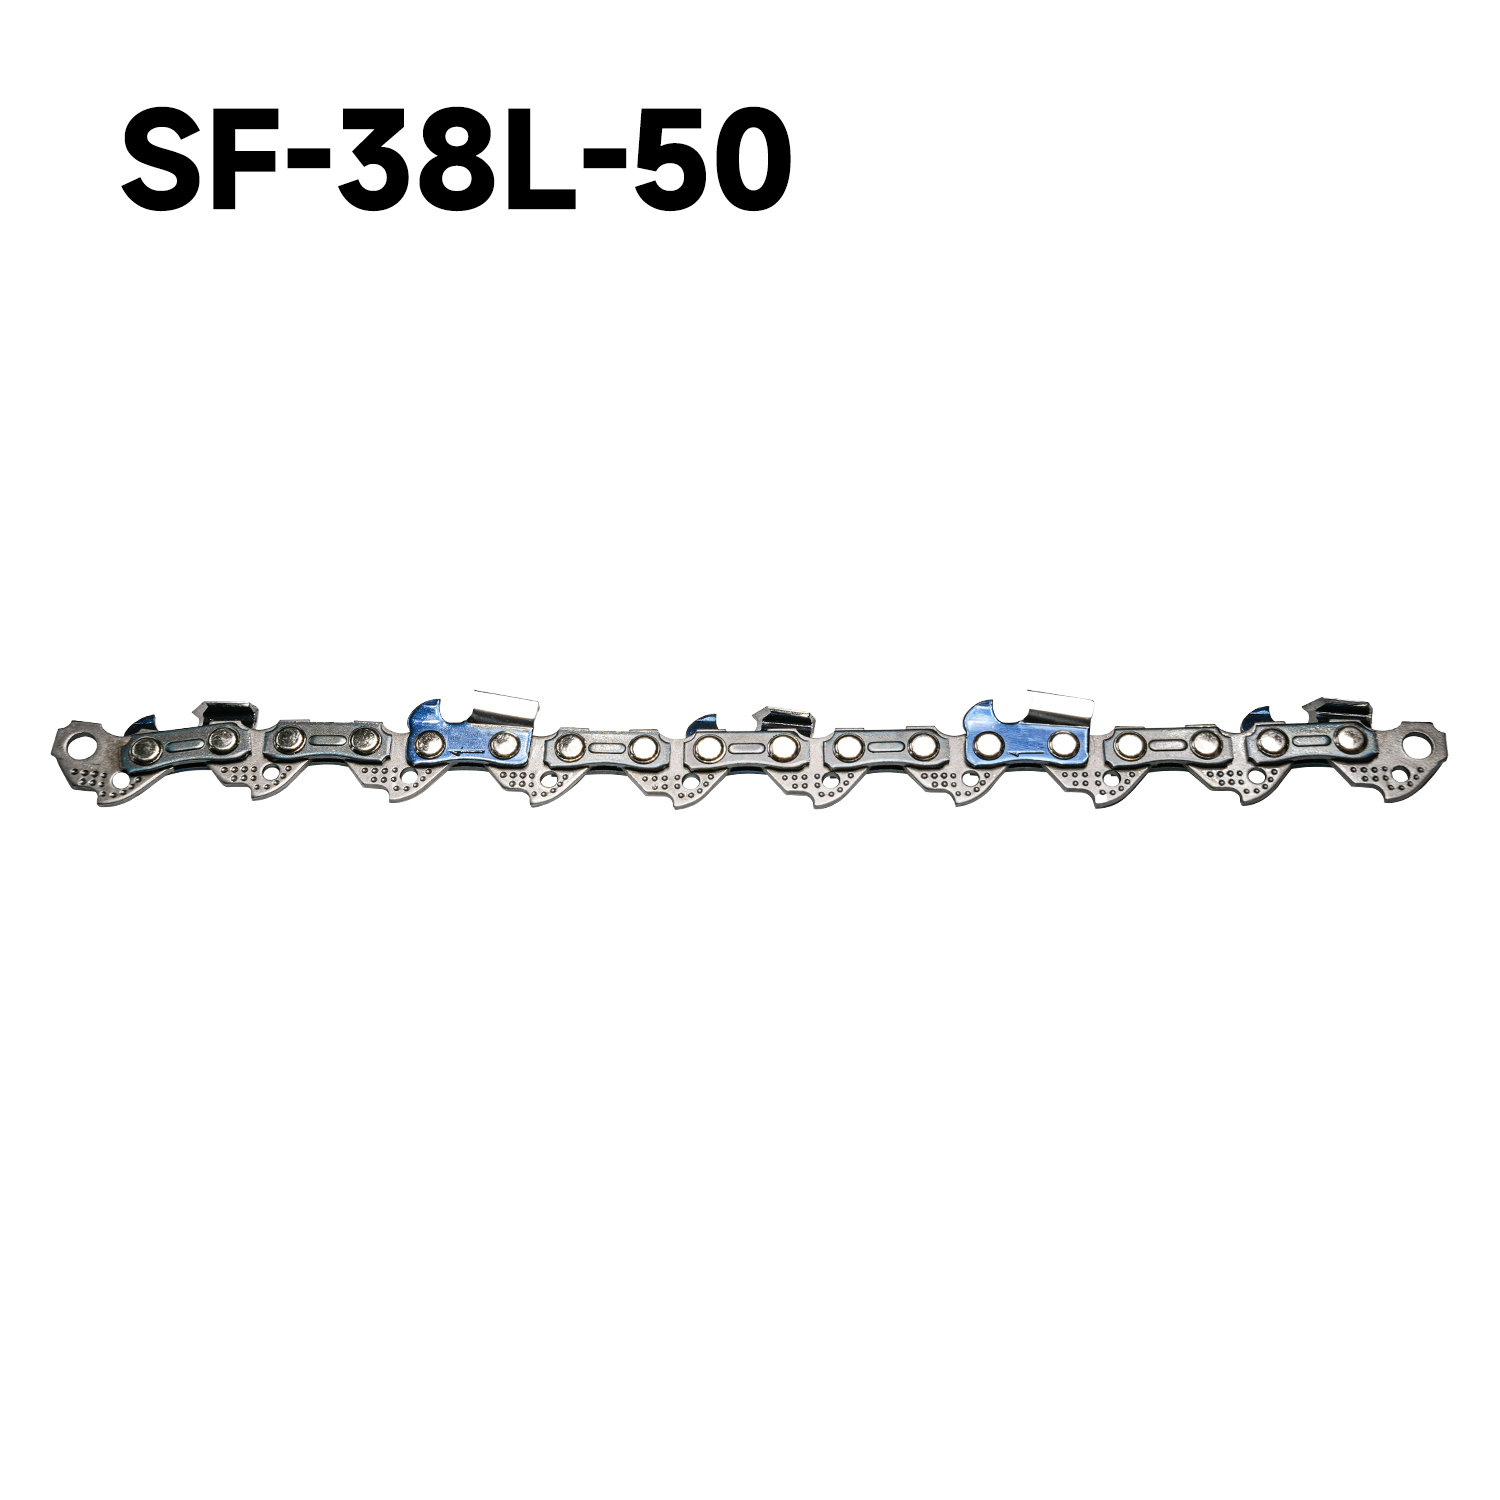 3/8-Inch Low-Profile Chainsaw Chain for Small SawsLow-profile 3/8-inch chain for pruning, trimming, and light woodworking, with configurable gauge, cutter type, drive links, and mounts for small saws.View Product →
Chain tension belongs to the same fit check. A chain that is too loose can jump the nose; too tight can heat the bar and wear the rails. Our note on chain tension and guide bar wear resistance covers the practical checks after the bar is mounted.
Matching a Replacement Bar to the Saw, Not Just the Cut
Length alone can send you home with a bar that will not oil, will not tension, or will overload the saw. The bar mount pattern must match the saw: slot width, tail profile, oil holes, and adjuster hole. A longer bar also needs enough oil pump output and engine torque. A 30 cc to 40 cc saw commonly runs a 12- to 16-inch bar; a 50 cc class saw often uses 16 to 20 inches; larger saws move into 20- to 24-inch bars and beyond. Those are starting points, not rules.
If the original bar is a laminated bar on a light saw, staying with the same mount and length keeps balance and cost predictable. A laminated guide bar is a sensible match for occasional cutting and lighter saws, but it is not a solid bar for heavy professional use.
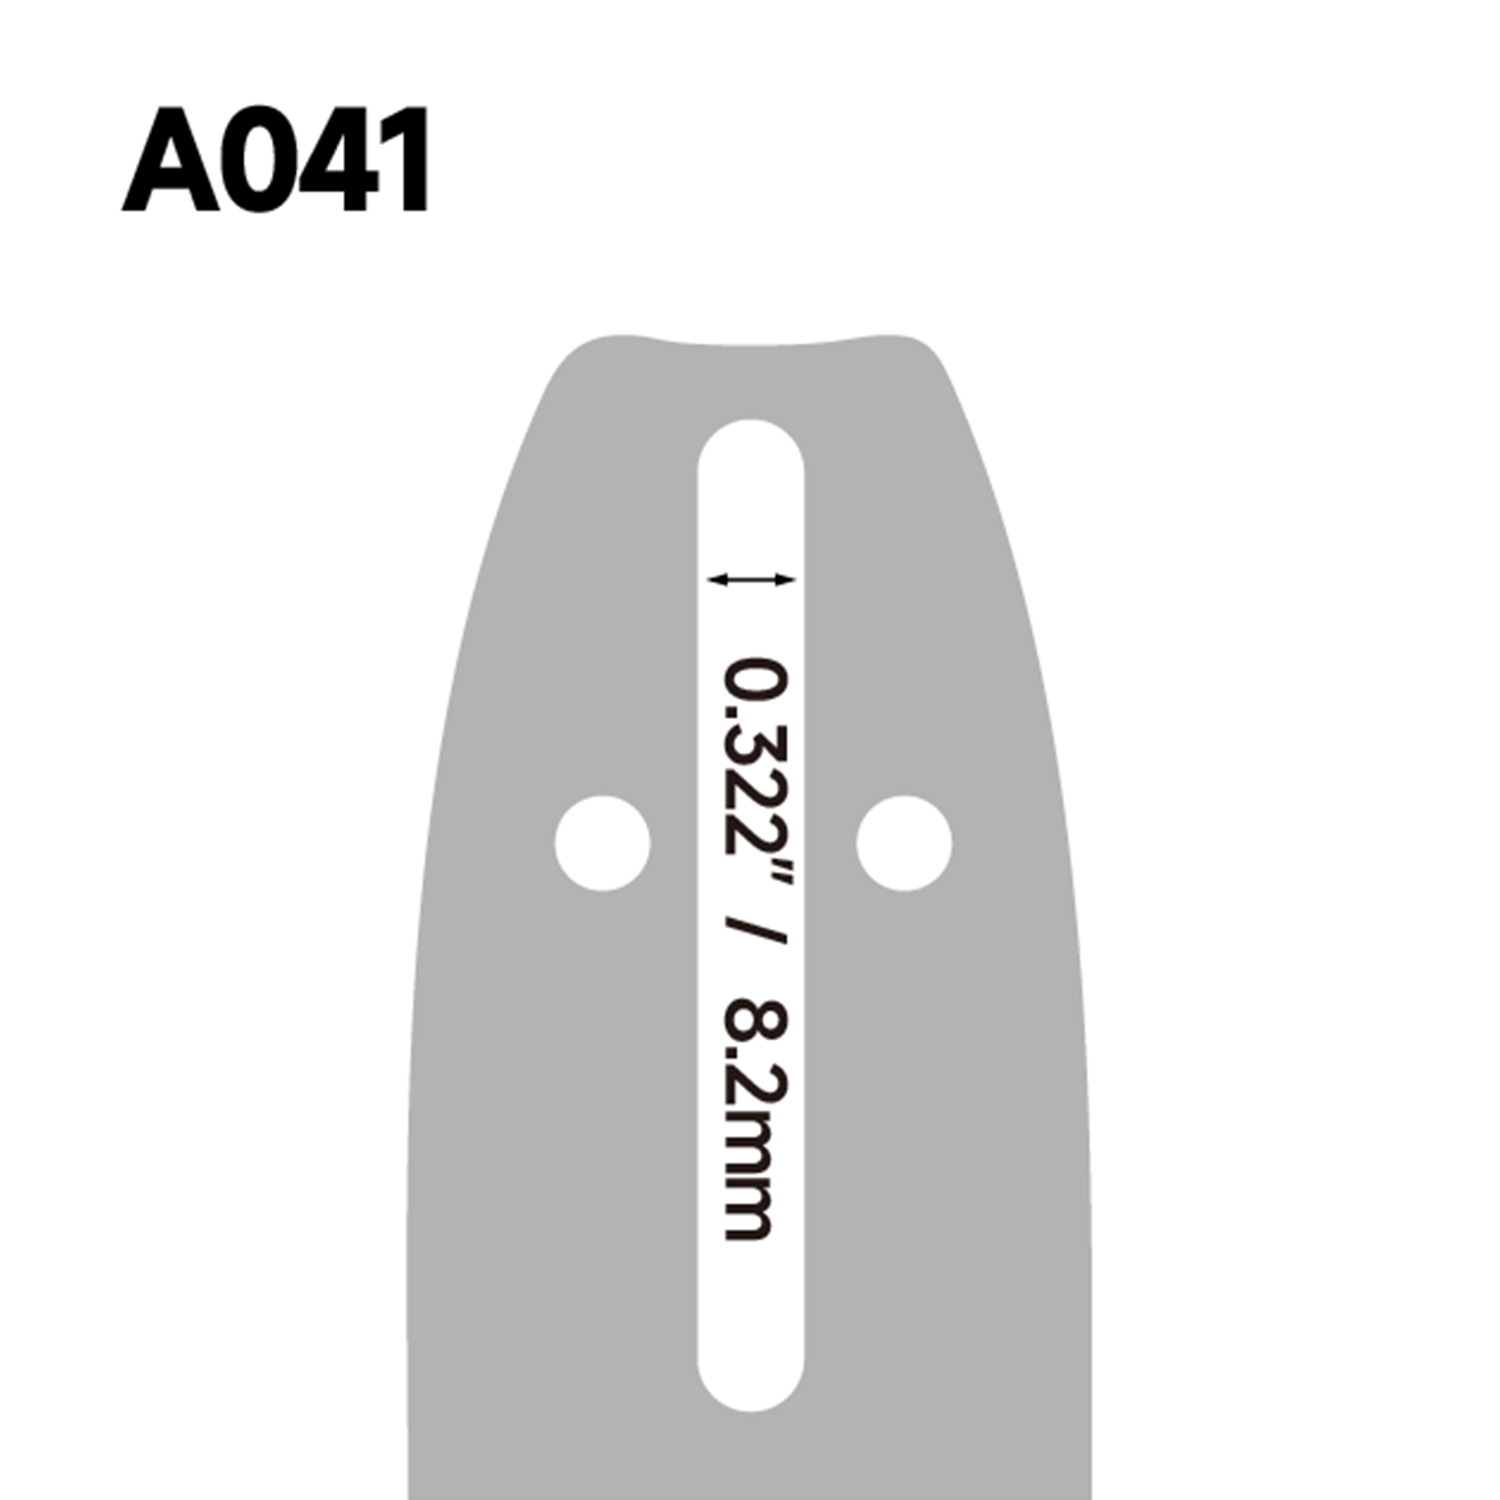 Laminated Guide Bar for Light Saw Balance and FitLaminated guide bar with slim contour, lubrication system, and precision rail groove; match mount and length to a light saw and existing chain.View Product →
For dirty cutting or a bar that sees hard nose wear, a hardnose bar may be the better shape, but the mount and chain still decide fit. Do not buy a longer bar for more reach unless the saw can oil and pull it.
Where to Find the Numbers Without a Tape
Most bars carry a stamp near the tail: length, pitch, gauge, and sometimes drive link count. The saw manual and the chain package repeat those numbers. If the stamp is worn, use calipers for slot width and compare the old bar with the new one at the tail, oil holes, and adjuster slot. Do not trust an online listing that gives only length.
Common Measuring Mistakes That Cause a Bad Fit
- Measuring the full bar from tip to tail and calling it bar length. That number includes the hidden tail and is not the cutting length.
- Using a flexible tape around the nose. The tape can slip or follow the curve, adding length. Keep the rule straight along the centerline.
- Assuming the same length means the same mount. Two 18-inch bars can have different slot widths, oil holes, and tail shapes.
- Forgetting drive link count. A chain with the right pitch and gauge can still be too short or too long for the bar.
- Matching a new bar to a worn chain. The old chain may be stretched, and a worn bar groove can hide the true gauge.
When the Bar Is Worn Enough to Replace
Measure first, then inspect. A bar with chipped rails, a widened groove, blocked oil holes, a bent body, or a loose nose sprocket is past the point where a new chain will fix the cut. If the bar body is straight and only the nose is worn, a replaceable sprocket nose guide bar can renew the nose instead of scrapping the whole bar. If the groove is worn or the rails are damaged, replace the bar and match the chain to the new bar.
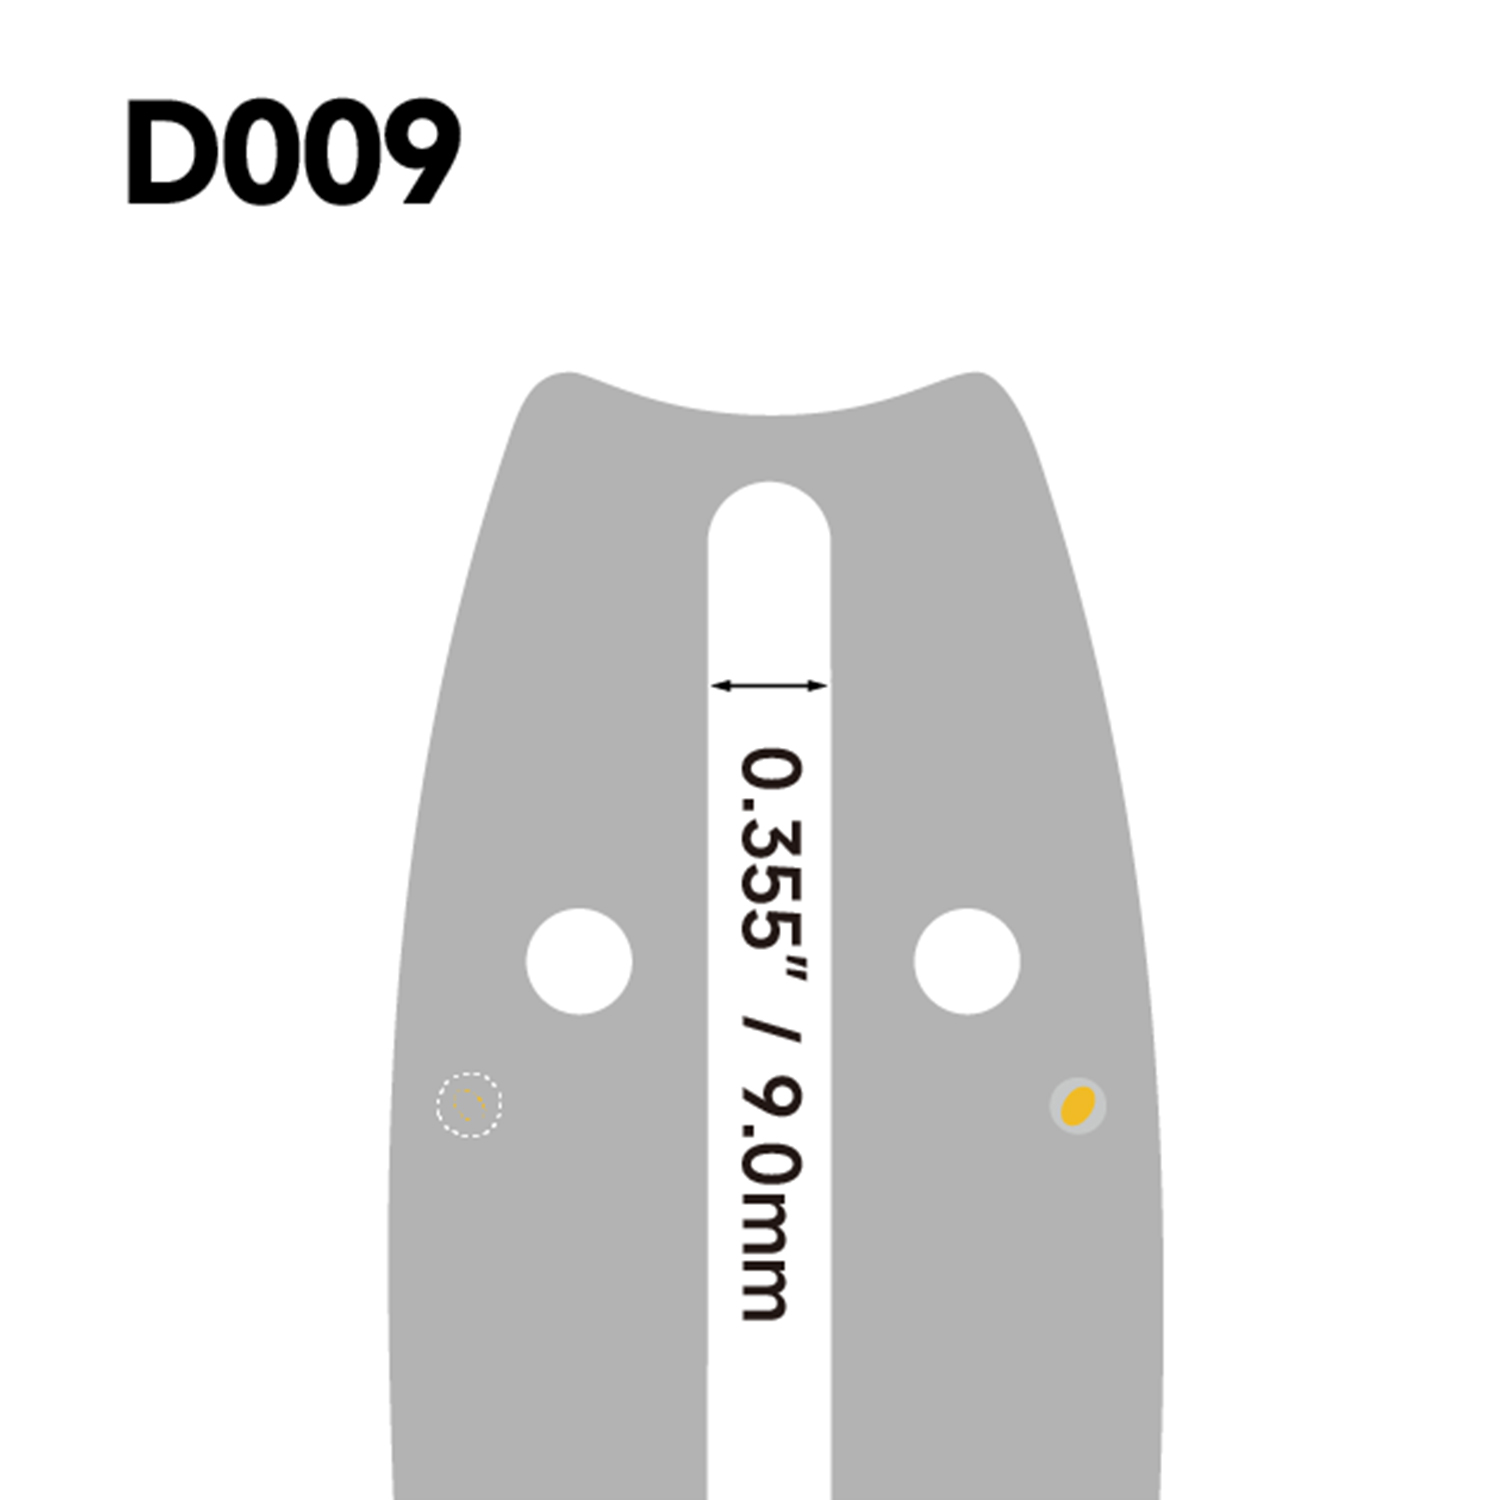 Replaceable Sprocket Nose Guide Bar for Heavy CuttingHeavy-duty guide bar with a replaceable rivet-mounted nose and wear-resistant body; renew a worn nose and verify mount, length, pitch, gauge, and drive links.View Product →
A final fit check is simple: cutting length matches the saw, mount matches the saw, pitch and gauge match the chain, drive link count matches the bar, and the oil holes line up. If any one of those is unknown, stop and measure again. A bar that is close enough in length but wrong in mount or chain fit will cost more time than the measurement ever did.

