

 English
 Español


A 16-inch Stihl bar can measure close to 18 inches from end to end. That is not a labeling error. Chainsaw bars are sold by cutting length, the usable length from the saw body to the nose tip, not by the overall length of the steel. If you order by the wrong number, the chain may be too short, the bar may not fit the studs, or the oil holes may miss the groove.
Before buying a replacement, measure four things: cutting length, bar mount, chain pitch and gauge, and drive-link count. The order matters. Length gets you into the right size range; mount and chain specifications decide whether the bar will actually run safely.
Content
Measure Cutting Length on the Saw
Fit the bar and chain, tension the chain to normal working tension, then measure from the front of the saw body, where the bar leaves the powerhead, to the tip of the nose sprocket. Do not measure the tail hidden inside the saw. That hidden section is part of the bar, but it is not part of the cutting length.
If the bar is off the saw, measure the overall length and subtract the tail section that sits inside the powerhead. This is less reliable because tail shapes vary. A better check is to use the old bar's printed number if it is still visible, then compare it with the mounted measurement.
- Clean the area around the bar tail so the tape or ruler sits flat.
- Keep the chain installed and tensioned as it would be during normal use.
- Measure from the front edge of the saw body to the outer tip of the bar.
- Record the result in inches and compare it with the number stamped on the bar.
Stihl bars are commonly identified by cutting length, so a bar marked 16 inches should measure near 16 inches of exposed cutting length when mounted. The overall steel length will be longer. Do not wrap a tape measure around the whole bar and assume that number is the size to order.
 Professional Hard-Nose Chainsaw Guide BarProfessional hard-nose bar with alloy tip, hardened body, and listed mounts; check cutting length and bar-mount fit before ordering.View Product →
Match the Bar Mount, Not Just the Length
Two bars can share an 18-inch cutting length and still not interchange. The tail must match the saw's bar mount pattern: slot width, stud slot length, oil-hole position, and tensioning hole. A bar that sits on the studs but misses the oil hole will overheat. A slot that is too wide can rock on the studs and damage the rails.
Place the old and new bars side by side. Check the tail outline, slot width, oil hole, and adjuster hole. If buying for a Stihl saw, use the saw's bar mount information and the bar's printed mount details; do not match by brand name alone. A model line can use more than one mount over its production run.
Bar construction matters too. Laminated bars are lighter and common on smaller saws. Solid bars resist heavy-duty wear and are often used where the bar sees constant load. Nose type affects maintenance as well as cutting behavior. A sprocket nose can be replaced when worn; a solid nose must be dressed and eventually replaced as a unit.
 Laminated Chainsaw Guide Bar for Professional LoggingLightweight laminated bar with slim contour and precision rail groove, listed mounts, and custom options; confirm length, pitch, gauge, and drive-link count.View Product →
Read Pitch, Gauge, and Drive-Link Count from the Chain
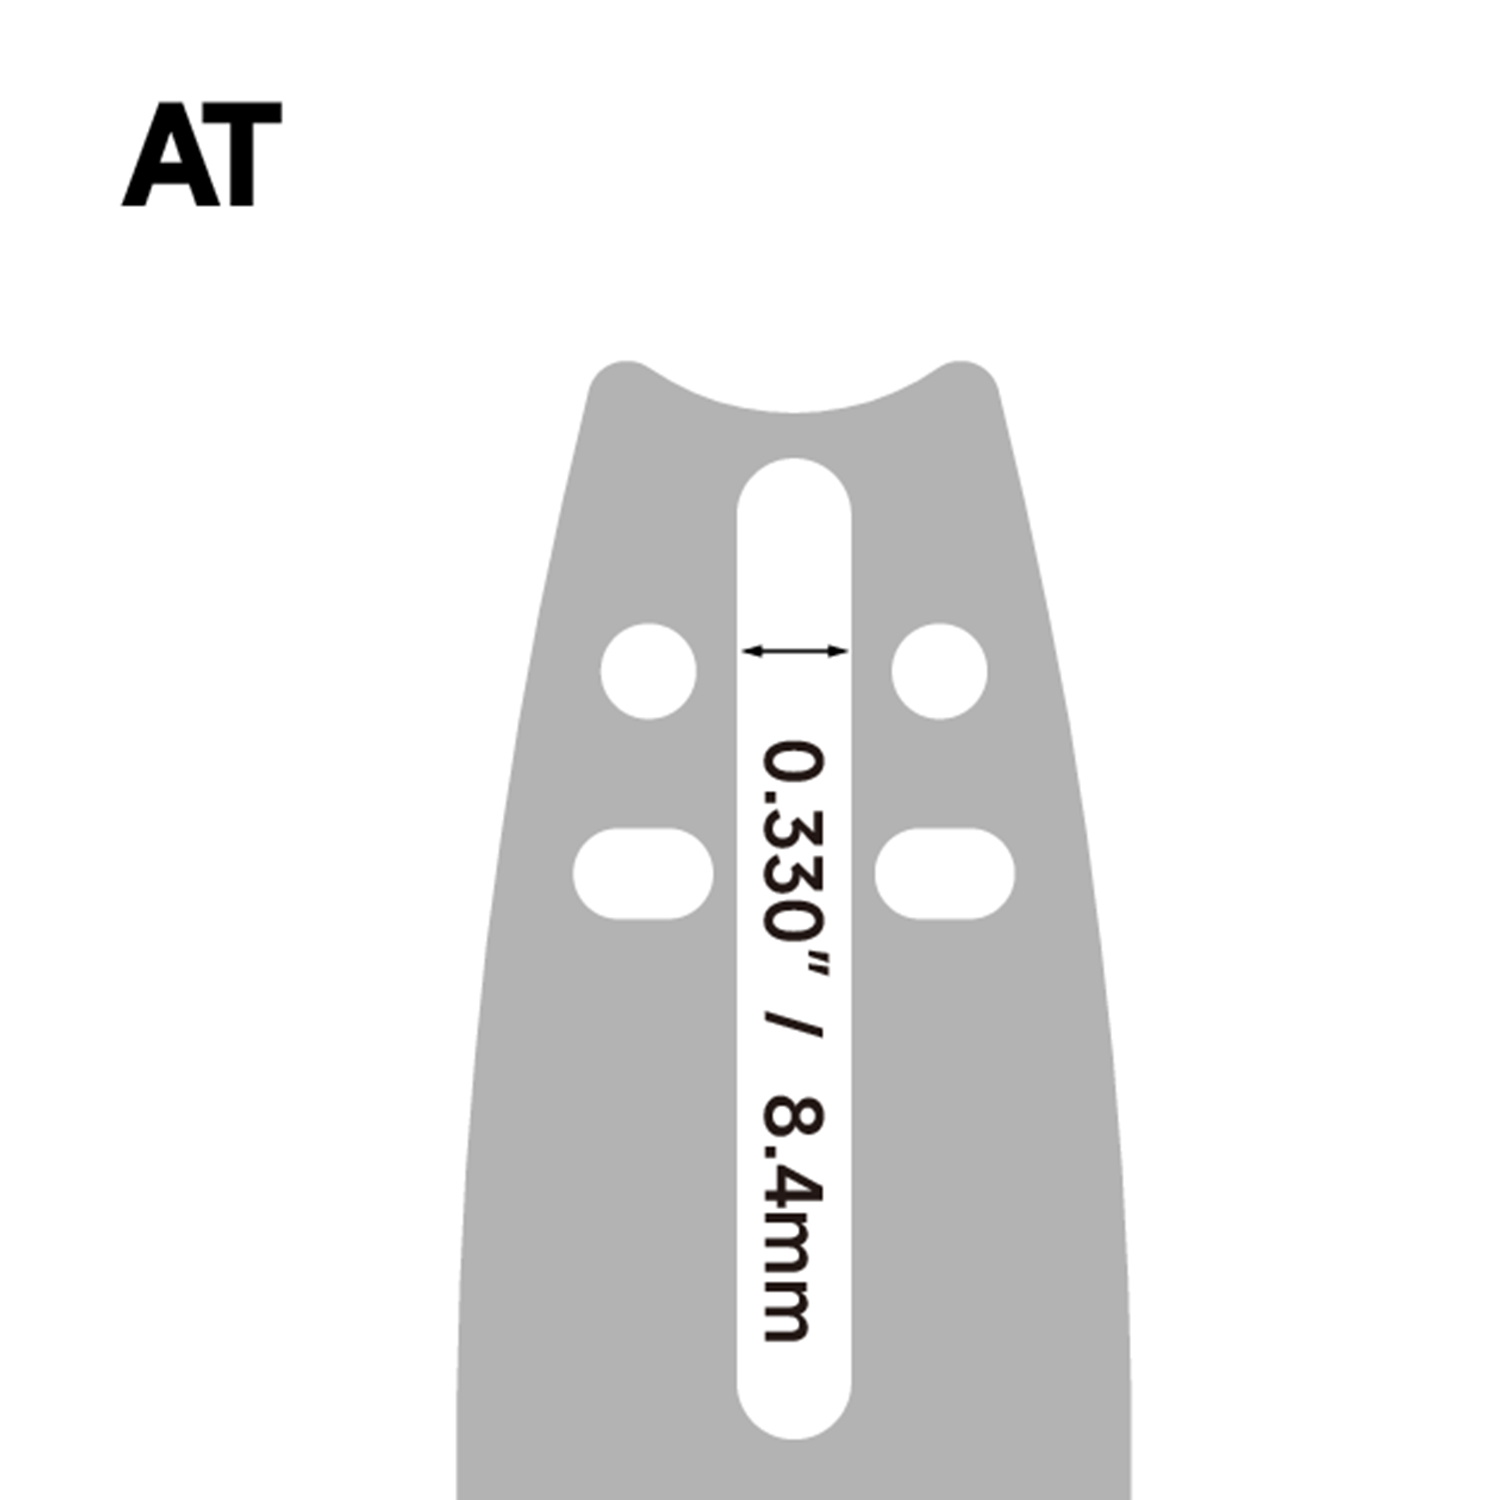
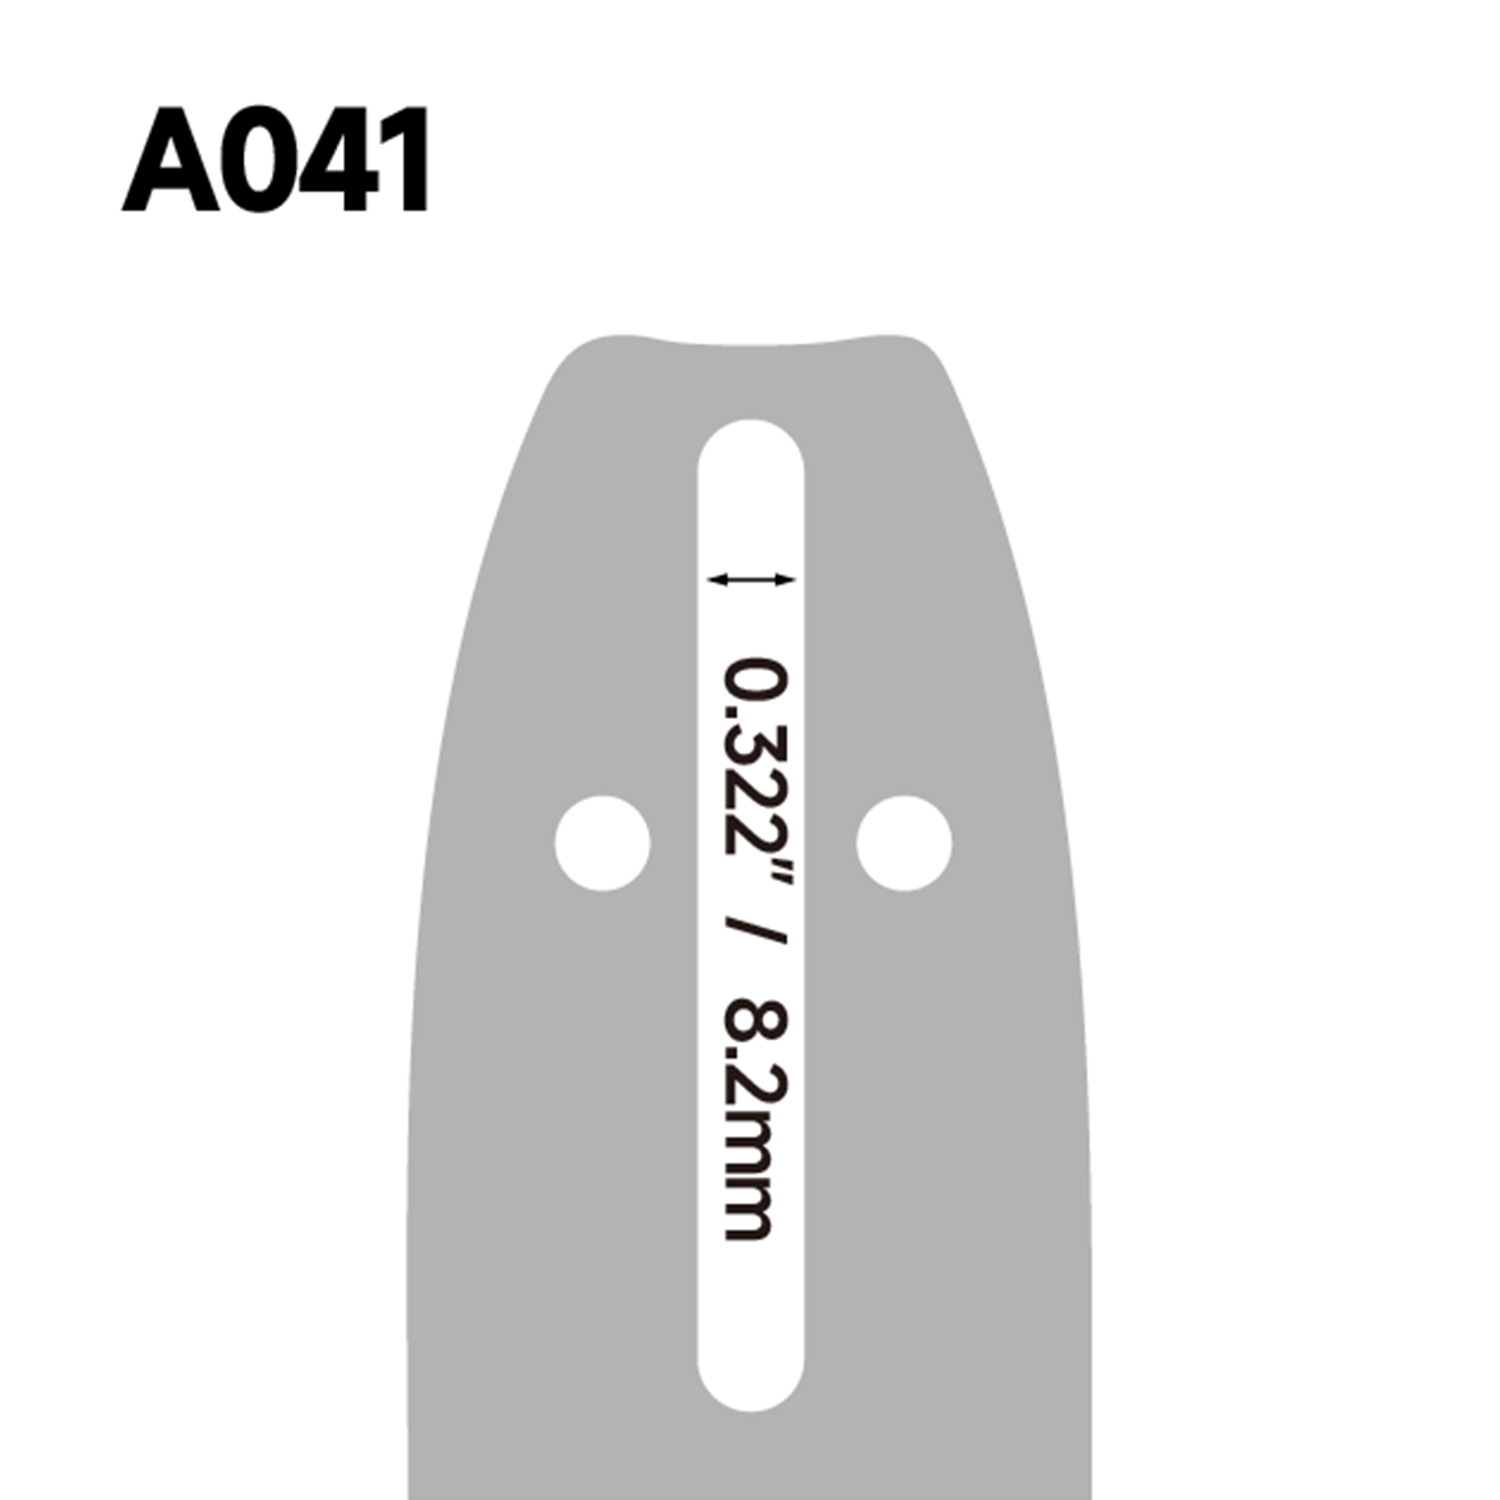
Bar length alone does not identify a chain. You also need pitch, gauge, and the number of drive links. Pitch is the distance between rivets. Gauge is the thickness of the drive-link tang that fits into the bar groove. Drive-link count is exactly what it sounds like: the number of links that sit inside the bar groove.
If the old chain is available, count the drive links and look for stamping on the bar or chain. If the markings are worn away, measure the pitch across any three consecutive rivets and divide that number by two. Use a gauge tool for drive-link thickness when possible. A caliper can work, but it must sit on the correct part of the drive link, not on a cutter.
- Pitch: common sizes include 3/8-inch low profile, 3/8-inch, .325-inch, and .404-inch. The pitch must match the bar nose and the drive sprocket.
- Gauge: the drive-link thickness must fit the bar groove without excessive side play.
- Drive links: a chain with the same pitch and gauge but the wrong link count will be too short or too long.
Chain tension also affects how the bar wears. A chain that is too tight can accelerate rail and nose wear, while a loose chain can ride poorly and damage the groove. For more on that relationship, see this guide to chain tension and guide bar wear.
Check Groove Depth and Nose Wear
On a solid nose bar, measure groove depth where the heaviest cutting is done. On a sprocket nose bar, measure the depth at the nose. Clean the groove first, then use a depth gauge or a straightedge and feeler gauge. Compare the reading with a new bar or with the manufacturer's wear limit. If the groove is shallow because of burrs, dress the rails. If it is too deep or uneven, replace the bar.
Inspect the nose sprocket for broken teeth, a tight bearing, or a hooked profile. A worn nose can make a new chain run hot and jump. Replaceable noses are practical when the rails are still good, but the replacement sprocket nose must match the bar, pitch, and nose width. A poor match can create noise, rapid wear, and poor chain support.
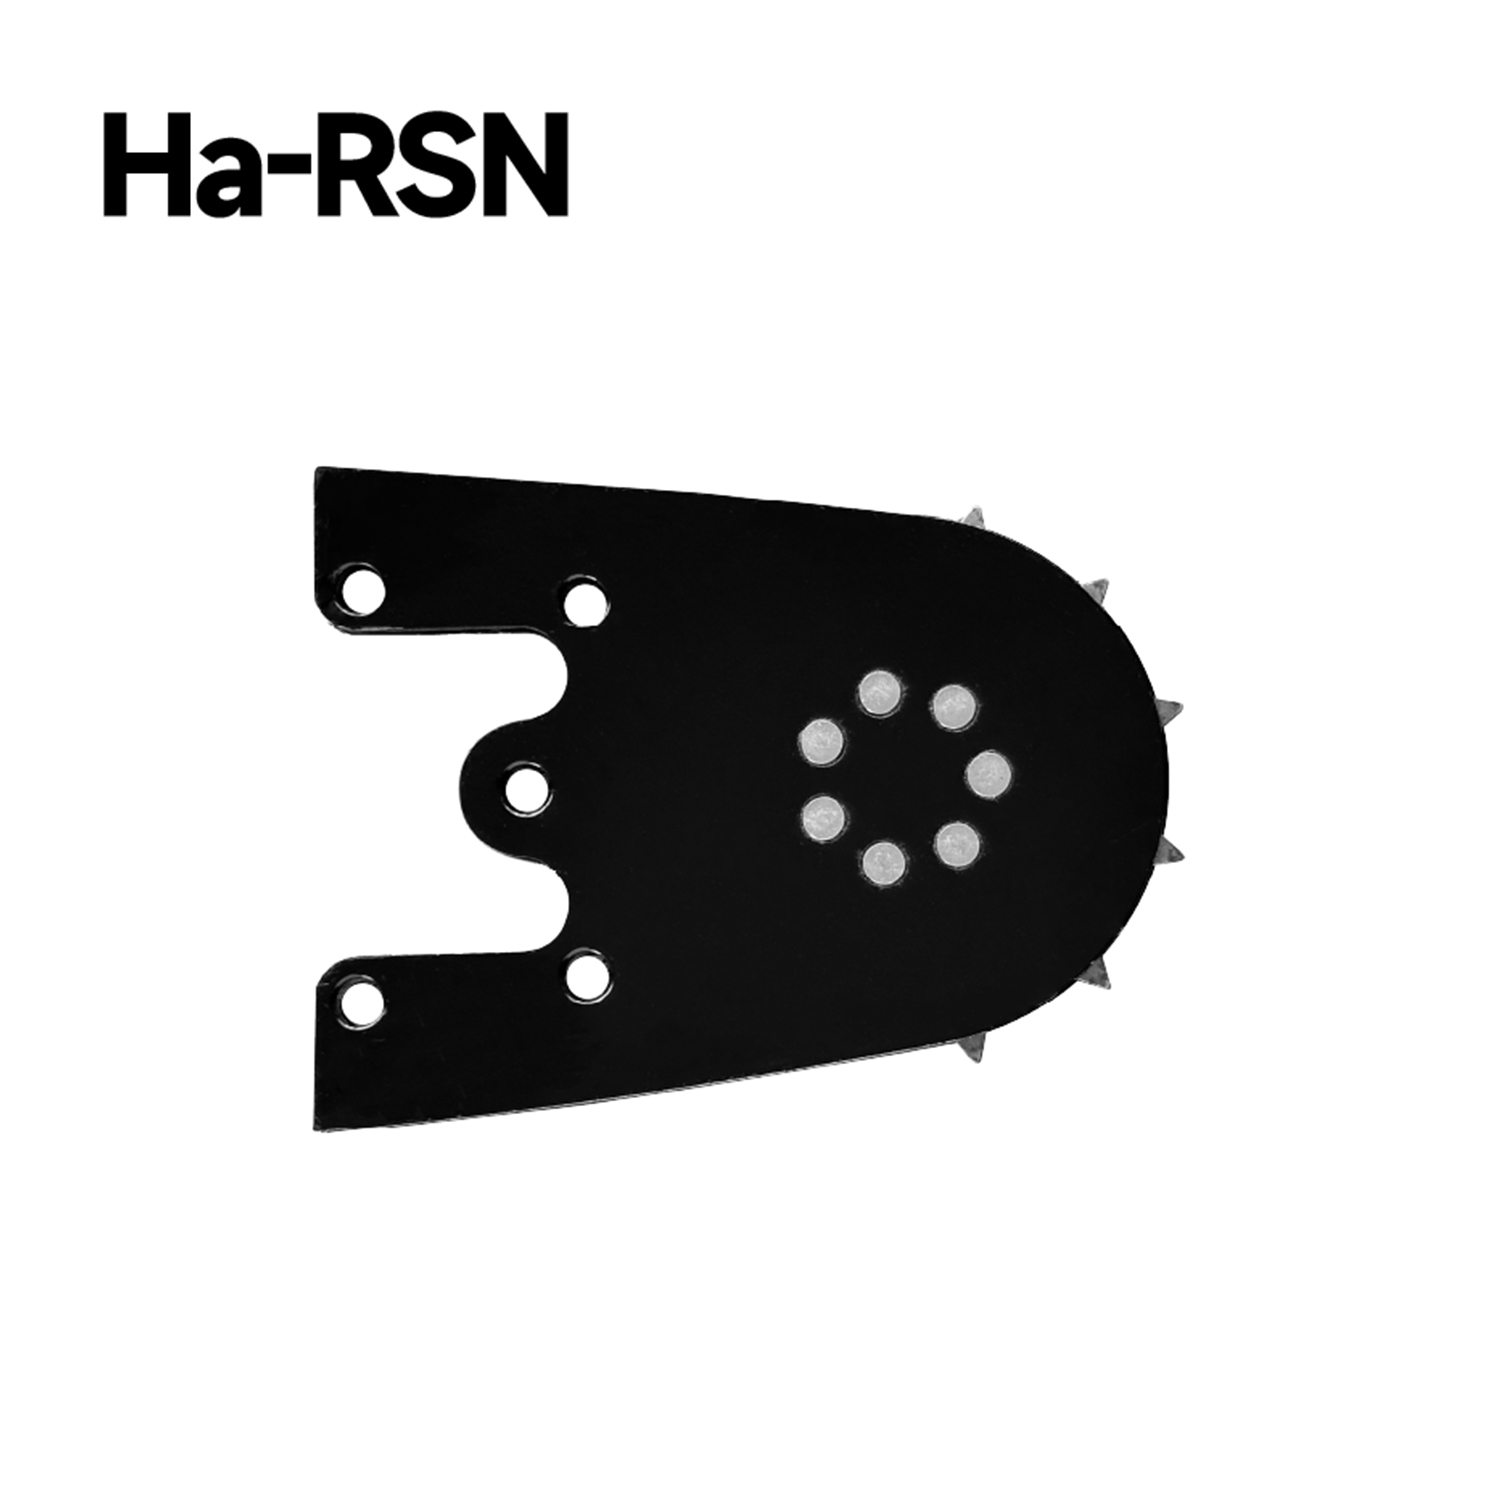 Replacement Sprocket Nose for Chainsaw Guide BarsPrecision-groove sprocket nose with rivet reinforcement and lubrication design, available in RSN and harvester models; match bar, pitch, and nose width.View Product →
Use a Simple Measurement Record Before Ordering
A single length reading is not enough to confirm fit. Use the measurements together, especially when a saw has been modified or when the old bar has no readable markings.
| Measurement | How to Check | What It Confirms |
|---|---|---|
| Cutting length | Measure from the front of the saw body to the bar tip with the bar mounted. | The advertised bar size and the approximate chain length range. |
| Bar mount | Compare slot width, stud slot, oil hole, and tensioning hole with the old bar. | Whether the bar will sit correctly and receive oil. |
| Pitch | Measure across three consecutive rivets and divide by two, or read the marking. | Whether the chain matches the sprocket and bar nose. |
| Gauge | Measure the drive-link tang thickness or use a gauge tool. | Whether the chain fits the bar groove without excess play. |
| Drive-link count | Count every link that sits in the bar groove. | Whether the chain loop is the correct length for the bar and saw. |
Write the numbers down. For a Stihl saw, record the saw model, bar mount, cutting length, pitch, gauge, drive-link count, and nose type. This prevents the common “same length, wrong chain” return. It also helps when one saw is used by several people and bars are swapped between jobs.
When the Numbers Do Not Match
Common mismatches include a bar labeled 18 inches that measures about 20 inches overall, a 3/8-inch low-profile chain fitted to a .325-inch sprocket, a bar slot wider than the saw studs, or an oil hole that does not line up. If a new bar mounts but the chain does not seat, stop. Do not force the chain into the groove or run the saw to “see if it settles.”
A replacement bar should sit flat, align with the oil hole, allow the chain to rotate freely by hand, and hold tension after adjustment. After the first heat cycle, recheck tension. Slight chain stretch is normal. A chain that bottoms out in the groove, sits proud of the rails, or cannot be tensioned correctly points to a gauge or fit problem.
For production or fleet use, keep a reference record for each saw model. Measure old bars before discarding them and label them with cutting length, mount, and chain specifications. That small habit turns a five-minute measurement into fewer purchasing errors and less downtime.

