

 English
 Español

The quickest way to end a morning of cutting is to order the wrong replacement chain. In everyday language, the “blade” on a chainsaw means the long metal bar, but the chain matters just as much. Measuring a chainsaw blade properly means recording the guide bar length plus three chain numbers: pitch, gauge, and drive link count. Get those four numbers, and the correct replacement part is no longer a guess.
Content
Measure the Guide Bar Length
The guide bar length is the effective cutting length, not the total physical length of the steel bar. Place the saw on a stable benchtop and measure from the tip of the bar back to the point where the bar enters the saw body. Do not include the mounting slots or the tail hidden inside the powerhead. On most saws this distance is a whole or half number in inches, such as 16, 18, 20, or 22 inches. If you get 17.5 inches, the nominal size is usually 18 inches.
Many bars have the length printed or stamped on the tail, usually on the side facing the operator. Clean the base of the bar before checking; sawdust can hide it. If the stamp is worn off, the tape-and-measure method is the only reliable backup. The bar length does not identify the chain by itself, so you still need the chain pitch, gauge, and drive link count.
The nose style also matters when you choose a guide bar. Hardnose bars have a solid nose, laminated bars use several steel layers, and replaceable sprocket nose bars let you swap the worn nose instead of replacing the whole bar. Knowing your length narrows the options, and a replaceable sprocket nose bar is a practical choice if you want to service the tip.
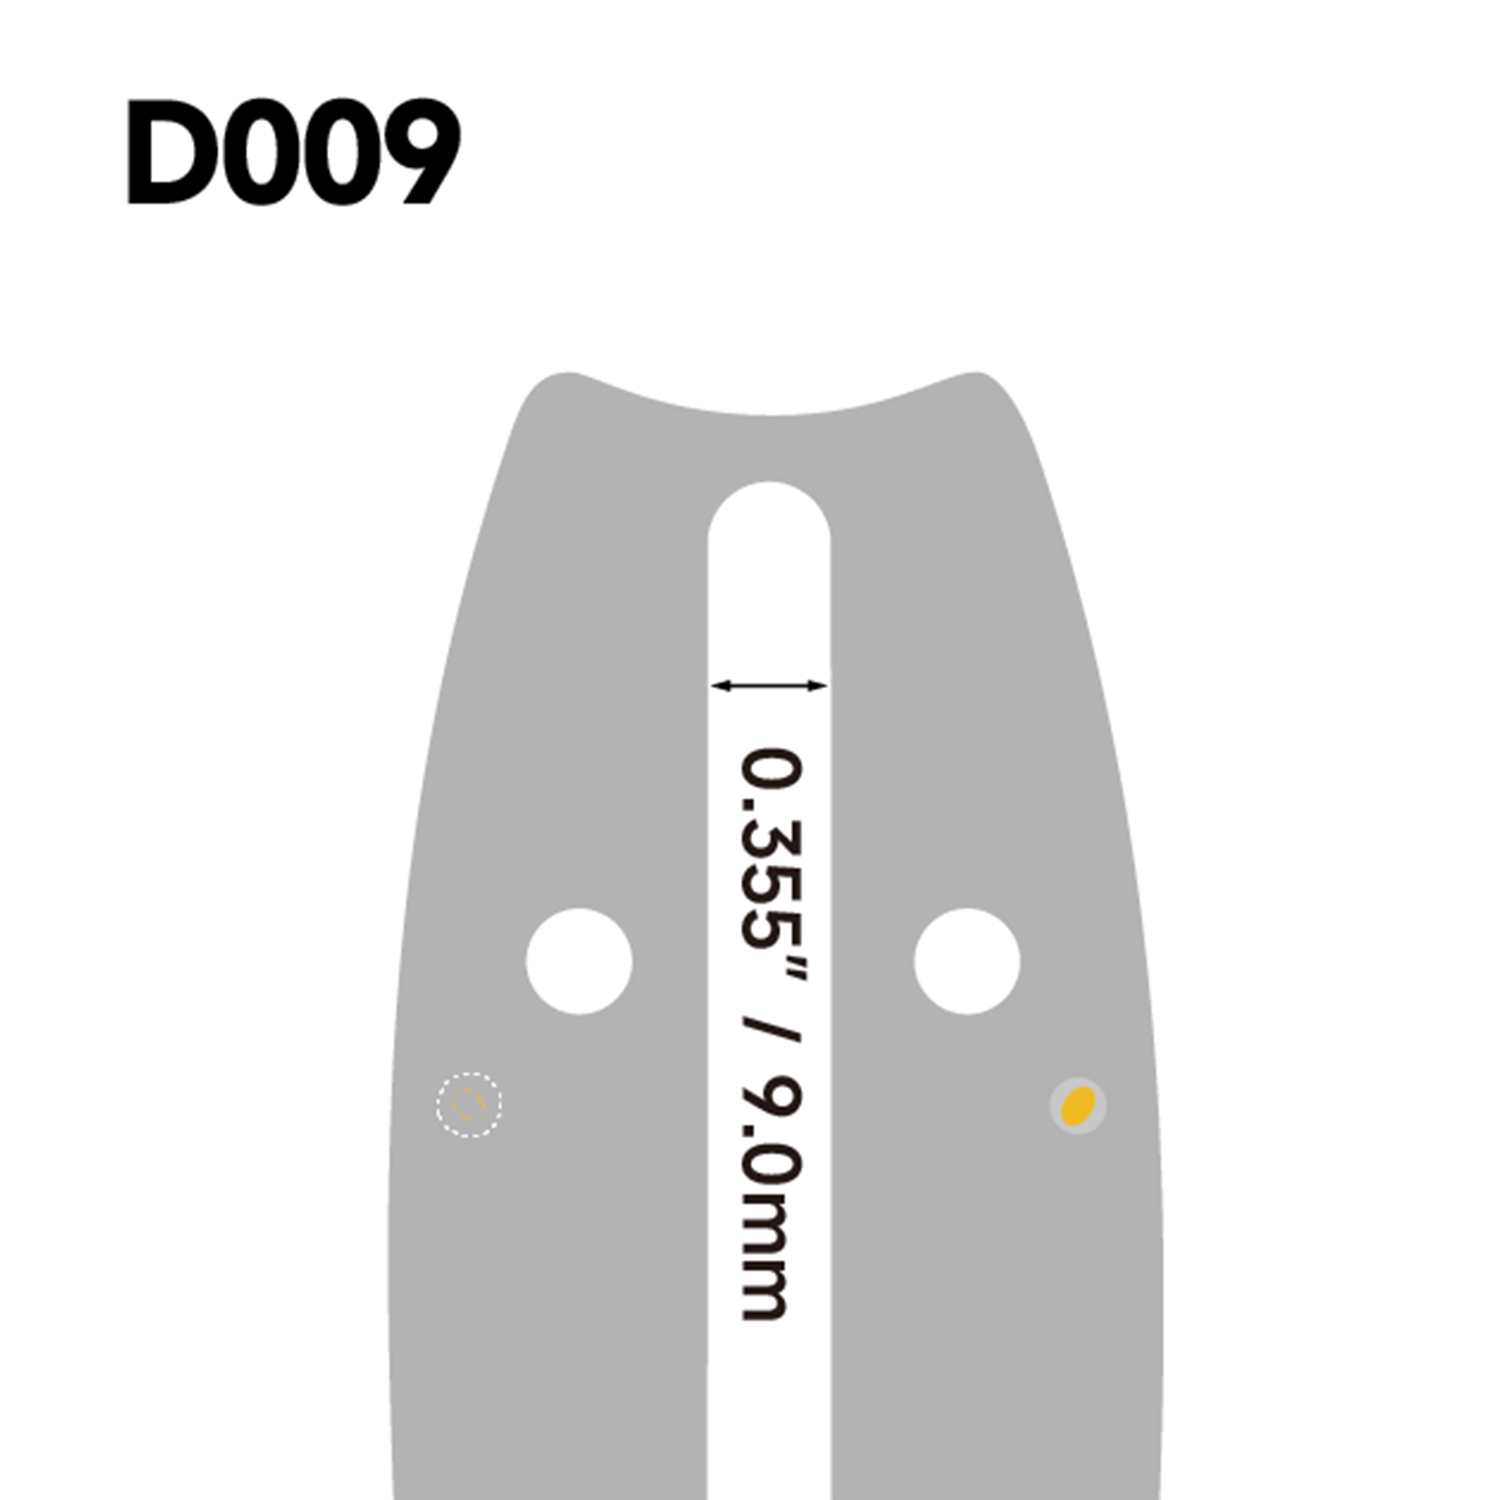 Replaceable Sprocket Nose Guide Bar for ChainsawA practical choice when you want to service the tip without replacing the whole bar. This nose style suits regular work and pairs with the pitch measurement explained above.View Product →
Measure the Chain Pitch
Chain pitch is the distance between any three consecutive rivets divided by two. This number matches the chain to the drive sprocket and the bar nose sprocket. To measure it, use a caliper and place the pins on the centers of the first and third rivets in a run of three. That reading covers two pitch lengths, so divide it by 2.
Common pitches are 1/4", .325", 3/8", and .404". Many homeowner saws use a 3/8" low-profile chain, which has the same 3/8" pitch but a shorter drive-link height. The designation matters because a full-size 3/8" chain will not work on a bar cut for low-profile. Do not assume the number printed on the old bar nose is still correct; the bar may have been fitted with the wrong chain at some point. Measure the old chain and confirm before ordering.
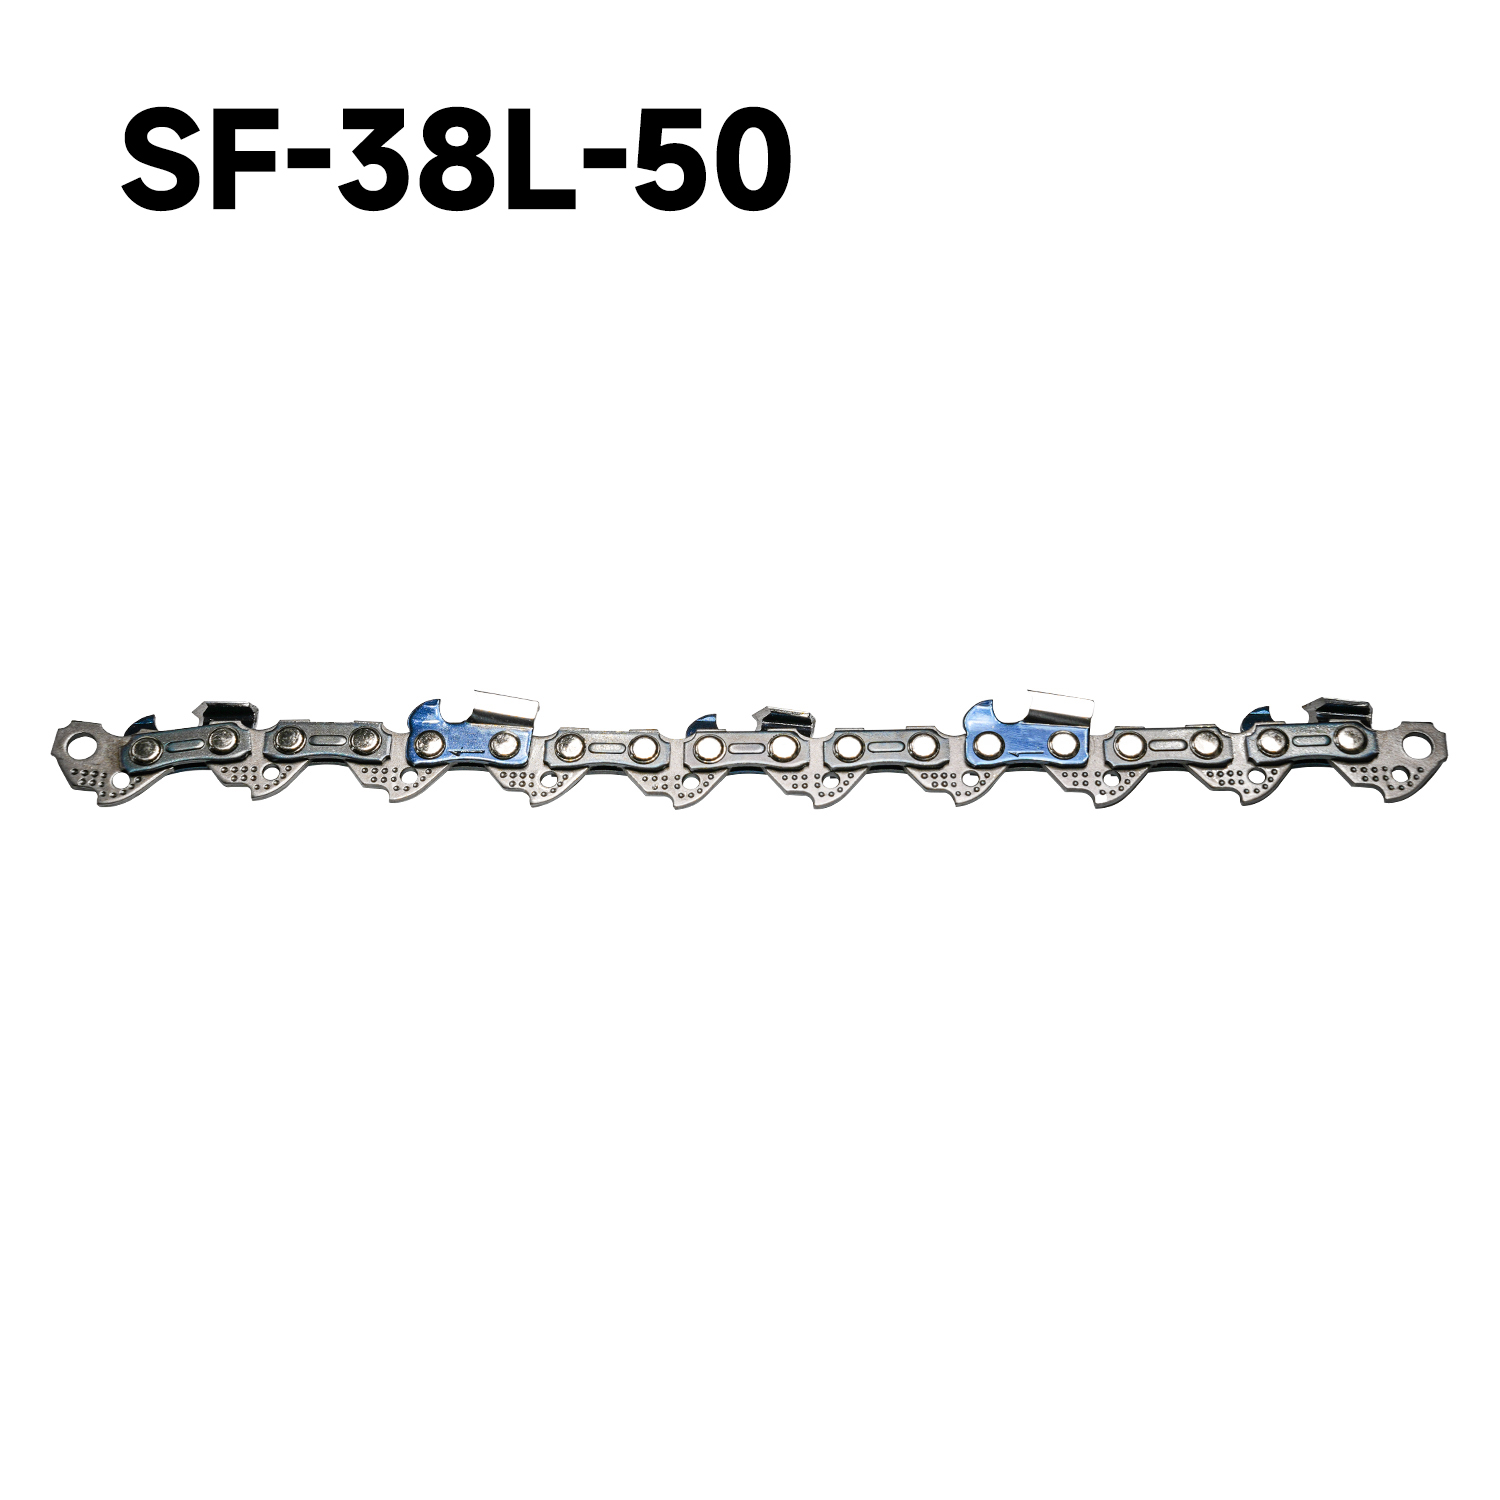 3/8" Low-Profile Pitch Chainsaw ChainMatches the 3/8" low-profile designation that many homeowner saws use. Confirm the drive-link height before ordering, since full-size 3/8" chain will not fit a low-profile bar.View Product →
Measure the Chain Gauge
Gauge is the thickness of the drive link, the part that rides in the bar groove. You measure the flat tang that drops into the slot, not the cutter tooth. Most chains use .043", .050", .058", or .063" gauge. A caliper is the right tool for this; use the lower jaw on the drive-link tang and stay near the base of the link where the surface has not worn down.
Gauge errors are easy to ignore because the chain can look acceptable from the side. But if the gauge is too thick for the bar groove, the chain binds. If it is too thin, it rattles and can jump off during a cut. Always check a few drive links and use the smallest reading when the chain shows uneven wear.
Count the Drive Links
The number of drive links determines the exact length of the chain loop. To count them:
- Place the chain on a flat bench and straighten it out.
- Select one drive link and mark it with a small paint dot or a piece of tape.
- Count every drive link until you return to the marked link.
This is the number used in replacement listings, often written as something like 56 or 72. Do not count cutter teeth instead. On many chains the number of cutters is half the number of drive links, but not always, especially on skip chains. So count drive links directly. If you are buying a chain for a bar you cannot identify, laying the old chain around the bar and reading the link count can help, but direct counting on the chain is the most reliable method.
Measurement Summary Table
Keep this table near your workbench when you are about to order parts.
| Measurement | Tool | Where to Measure | Typical Units |
|---|---|---|---|
| Bar length | tape measure | bar tip to saw body | inches (e.g., 16, 18, 20) |
| Pitch | caliper | center of rivet 1 to center of rivet 3, divide by 2 | inch fractions or decimals |
| Gauge | caliper or micrometer | drive-link tang thickness | .043, .050, .058, .063 |
| Drive links | eyeball and marker | count all drive link tangs around the loop | whole number |
Once you have all four numbers, the chain size is fully described. Bar length is a separate specification, but it decides the bar itself. If you cannot measure one of the chain numbers, the tail of most chains has a stamped code that can help, but stamped codes wear off and can come from a mixed setup. In those cases, rely on the measurements, not memory.
Put the Numbers to Work
Start with the bar because it sets the loop size. Then match the chain pitch to the bar nose sprocket and the drive sprocket. The gauge must match the machined groove. Finally, the drive-link count must be exactly what the loop can accommodate when correctly tensioned. If all four numbers match, the chain sits properly, cuts straight, and makes tensioning predictable.
A mismatched part does more than make noise. A gauge that is too high drags and creates heat, which accelerates groove wear. Wrong pitch leads to skipping and can damage both the bar nose and the sprocket. A chain that is one drive link too long needs extreme tension to stay on, while one that is too short will bind. This is also why chain tension affects guide bar wear long before the problem becomes visible from the outside.
If you are ordering for the first time, start with a durable bar designed for regular work. The differences between hardnose, laminated, and replaceable sprocket nose bars affect how the bar handles heat and how easily the tip can be serviced. After the bar is chosen, match the chain from the measurements above. For many cutting jobs, a laminated bar is a good middle-ground option.
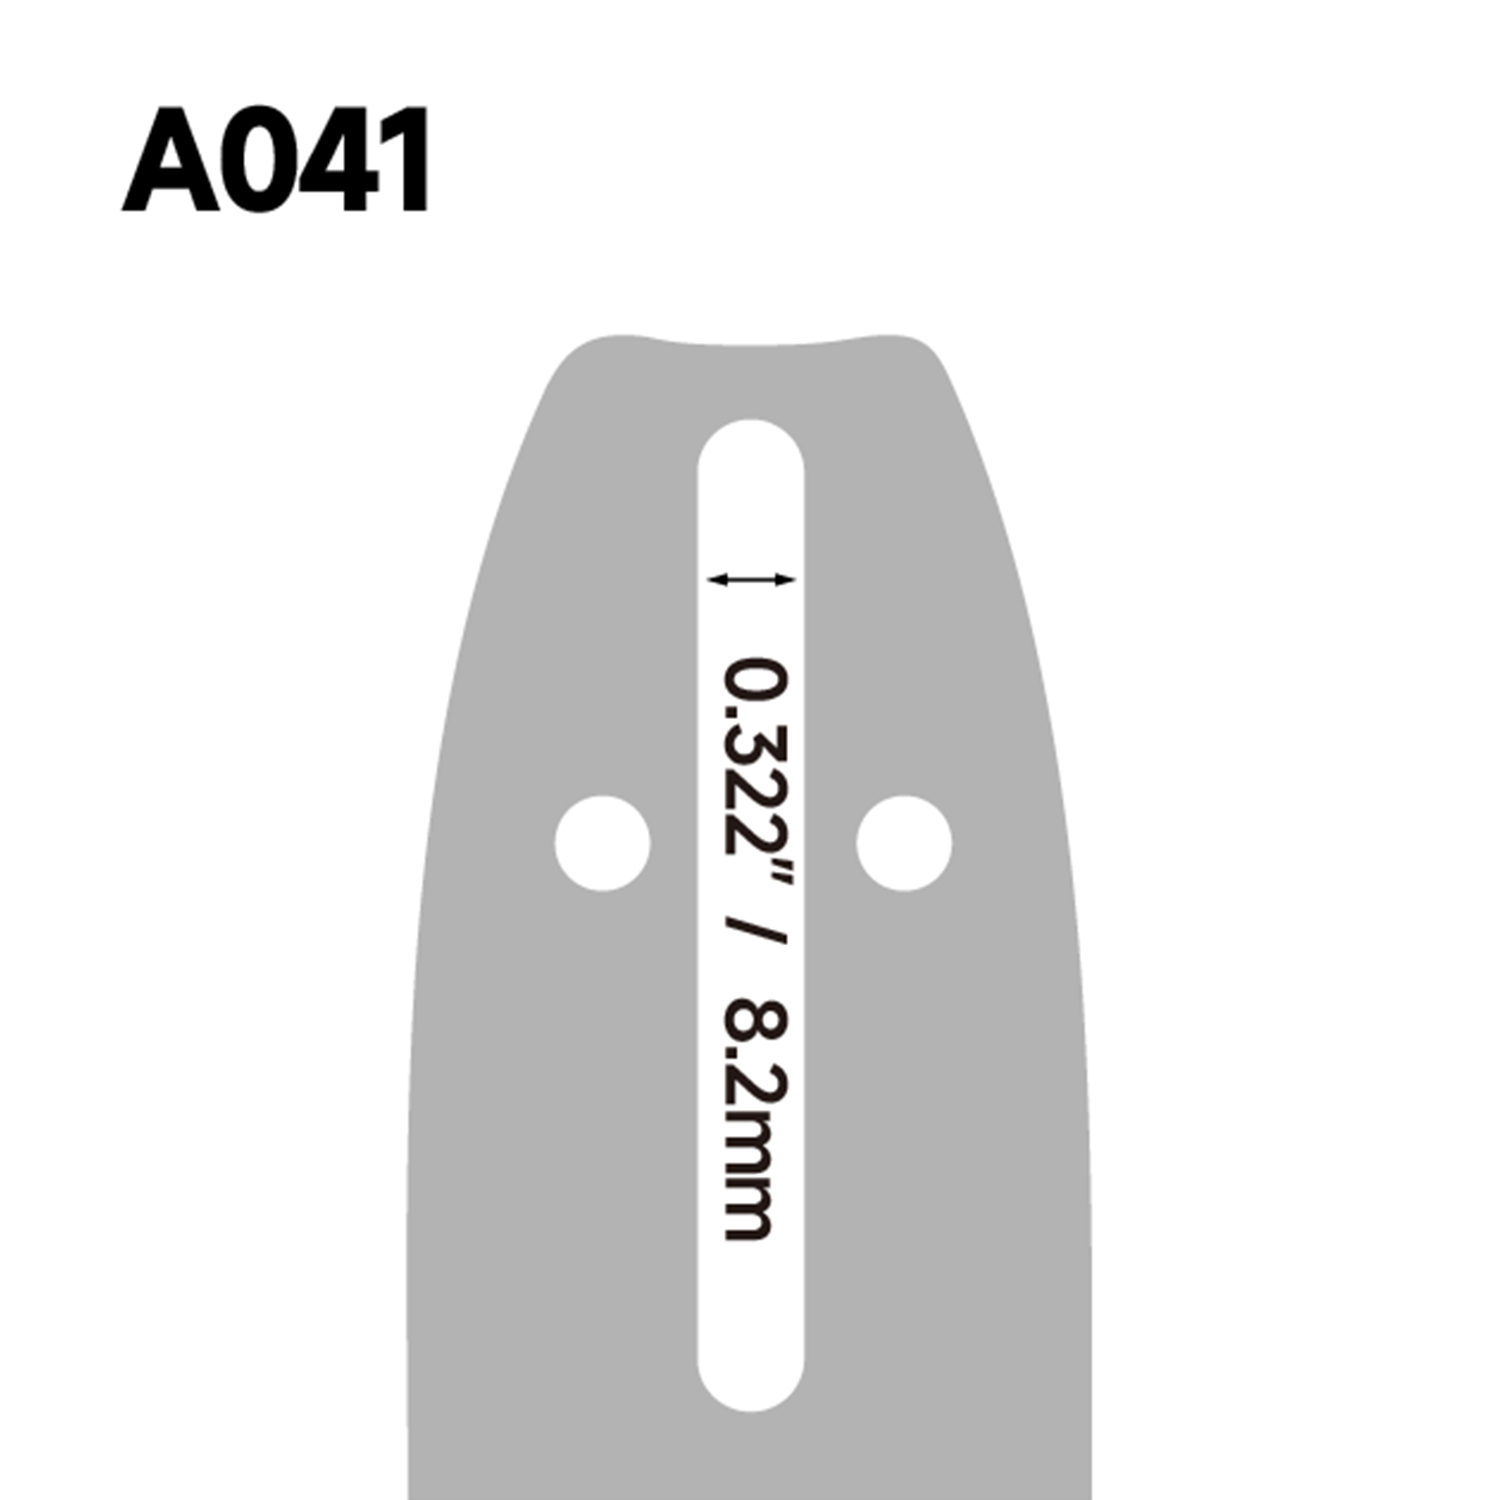 Laminated Guide Bar for ChainsawA solid middle-ground option for many cutting jobs. Laminated bars offer a balance of durability and serviceability, making them a sensible first choice after measuring your chain specifications.View Product →
Once you have your four numbers, replacing the parts is just a matter of matching the specification. If you want to see what is currently available, start with the full product range.

