

 English
 Español

A used saw arrives with a 20-inch sticker on the bar, but the steel measures closer to 22 inches from tip to tail. That is not a misprint. Chainsaw bars are sold by cutting length, not overall length, and mixing the two is one of the fastest ways to buy a bar that will not fit or a chain that will not match. The working rule is simple: measure from the bar tip to the point where the bar enters the saw body, round to the nearest even inch, and write down the chain pitch, gauge, and drive-link count before ordering. The rest of this guide explains why that number matters and where the common measuring mistakes happen.
Content
- 1 The Number on the Bar Is Cutting Length, Not Overall Length
- 2 How to Measure a Bar in Three Reliable Steps
- 3 Where Measurements Go Wrong
- 4 Reading the Bar's Markings and Matching the Chain
- 5 Buying a Replacement: A Practical Checklist
- 6 When the Bar Is Worn but Still Measures Correct
- 7 A Simple Rule to Remember
The Number on the Bar Is Cutting Length, Not Overall Length
The advertised length is the usable cut length. A bar sold as 20 inches is designed to cut near 20 inches of wood, and the tail that sits inside the saw can add an inch or more to the physical steel. That is why a bar can look longer on the bench than the number stamped near its tail. Do not measure the whole piece from tip to tail and assume you have found the size.
On a mounted saw, the reference point is where the bar leaves the saw body or housing. On a loose bar, you can still find the called length by measuring from the tip to the line where the bar would enter the saw. If the old bar is heavily worn, compare it with the saw mount and the manufacturer's specification; wear at the tail can change the visual measurement slightly. Felling dogs and wraparound handles are common sources of confusion because they sit in the same area but are not part of the bar's called length.
| Measurement | What it captures | Best use |
|---|---|---|
| Tip to saw body, where the bar exits the housing | Cutting length, often the advertised bar length | Ordering a replacement bar |
| Tip to rear of the bar tail | Overall physical length | Storage, shipping, and shelf fit |
| Tip to the felling dogs | Reach with a specific saw setup | Estimating cut capacity, not bar size |
Use the table as a cross-check, not a substitute for the number stamped on the bar. If the saw body reference and the stamp disagree by a small amount, the stamp and the saw's specification are the safer guides. If they disagree by an inch or more, stop and check the mount pattern before ordering anything.
How to Measure a Bar in Three Reliable Steps
Start with a straight tape and a clean bar. A flexible tape can follow the nose curve and add length, so keep the tape parallel to the bar's centerline. The saw should be off, and the bar should be clear of sawdust and chain tension pressure as much as practical.
- Locate the reference point. With the bar mounted, that is the point where the bar leaves the saw body. With a loose bar, it is the line where the bar would enter the saw.
- Measure from the tip to that point. Hook the tape at the bar tip and pull it straight back along the bar. Do not measure around the nose sprocket or along the outside curve.
- Round and record. Round to the nearest even inch for common bar sizing, then note the metric equivalent if you are comparing imported bars. Also record the mount pattern, pitch, gauge, and drive-link count.
Expect a small tolerance. Manufacturing, paint, and wear can account for roughly 1/8 to 1/4 inch, and a used bar may not sit exactly like a new one. That tolerance is not a reason to jump to the next size. If a bar measures between sizes, use the stamping and the saw specification rather than guessing upward.
Once the cutting length is known, choose a bar with the correct tail mount, oil holes, and nose type for the saw. A guide bar that is close in length but wrong at the tail can bolt on and still oil poorly or run the chain off line.
 Chainsaw Guide Bar Types and SelectionCompare hardnose, replaceable-sprocket, and laminated guide bars, including materials, nose designs, and customization options for matching a saw.View Product →
Where Measurements Go Wrong
Most bad bar measurements come from using the wrong endpoint or the wrong path along the bar. These are the common cases:
- Measuring tip to tail. This includes the hidden tail and can make an 18-inch bar look like a 20-inch bar.
- Measuring around the nose. Following the curve adds length and gives a number that does not match any common bar size.
- Measuring from the felling dogs. Dogs are accessories and vary by saw and setup, so they are not a reliable bar-size reference.
- Trusting the chain alone. A chain with 72 drive links may fit different bar lengths depending on pitch and gauge, so drive-link count alone does not define the bar.
- Ignoring wear. A worn tail, bent rail, or damaged nose can measure close to the original length but still mount and cut poorly.
The practical risk is not just a wrong number. A bar with the wrong mount pattern may sit badly, oil holes may not line up, and the chain may not sit correctly in the groove. That can lead to overheating, poor cutting, and premature chain wear. In a firewood or storm-cleanup setting, those problems show up fast when the saw is working hard.
Reading the Bar's Markings and Matching the Chain
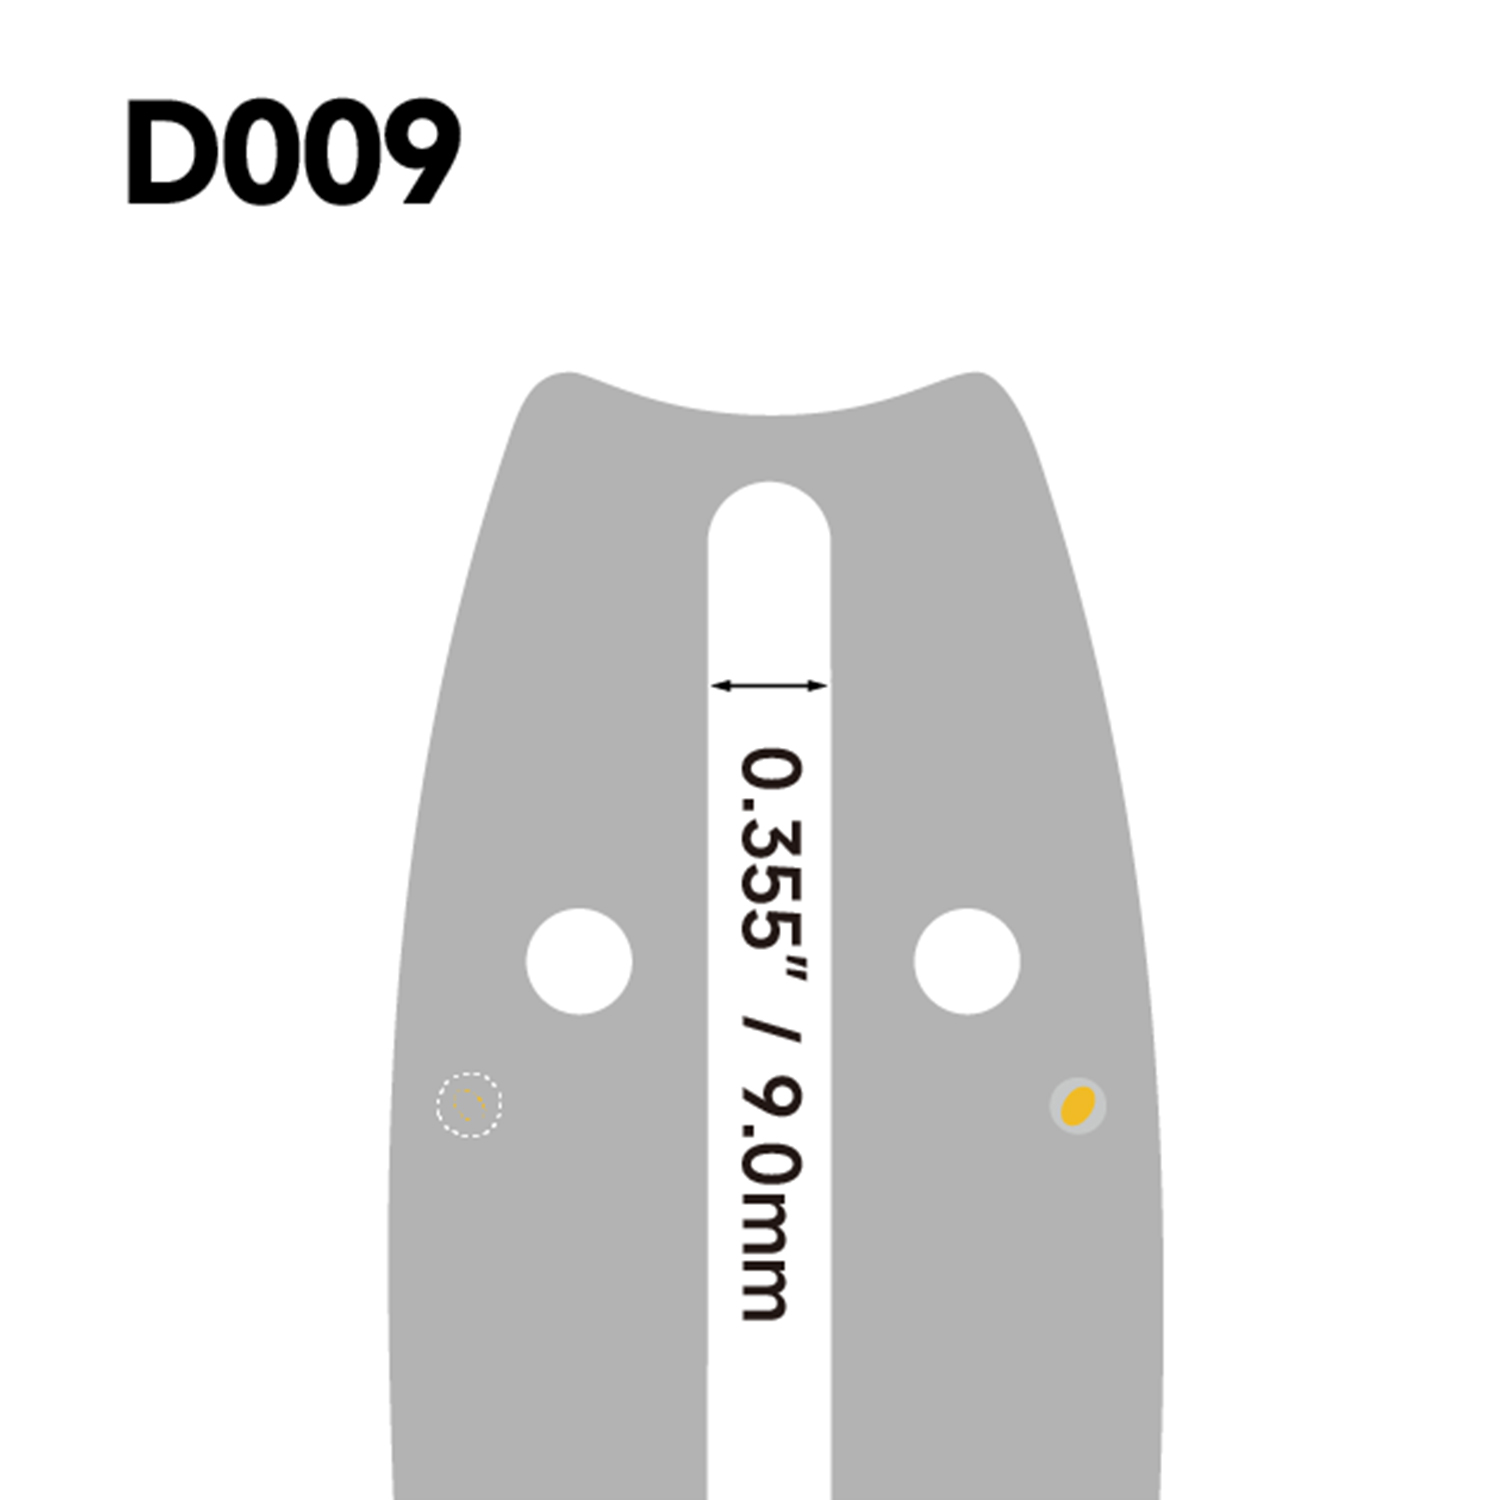
Most bars have stamped numbers near the tail that are more useful than a rough tape measurement. Look for the called length, pitch, gauge, and mount pattern. Pitch describes the chain's size and spacing, such as 3/8 low profile, .325, standard 3/8, or .404. Gauge describes the width of the drive link where it enters the bar groove, commonly .043, .050, .058, or .063 inch. Drive-link count sets the loop length, and the mount pattern controls whether the bar fits the saw at all.
Pitch and gauge must match the bar and the saw's drive sprocket. A 3/8 low-profile chain is not the same as a standard 3/8 chain, even though the numbers look close. A .050 gauge chain in a .058 gauge bar will sit loose, while a .063 gauge chain will not fit a narrow groove. If the bar is right but the chain is wrong, the saw is still unusable.
For small saws running 3/8 low profile, start with a chain matched to the bar's pitch, gauge, and drive-link count rather than buying by bar length alone.
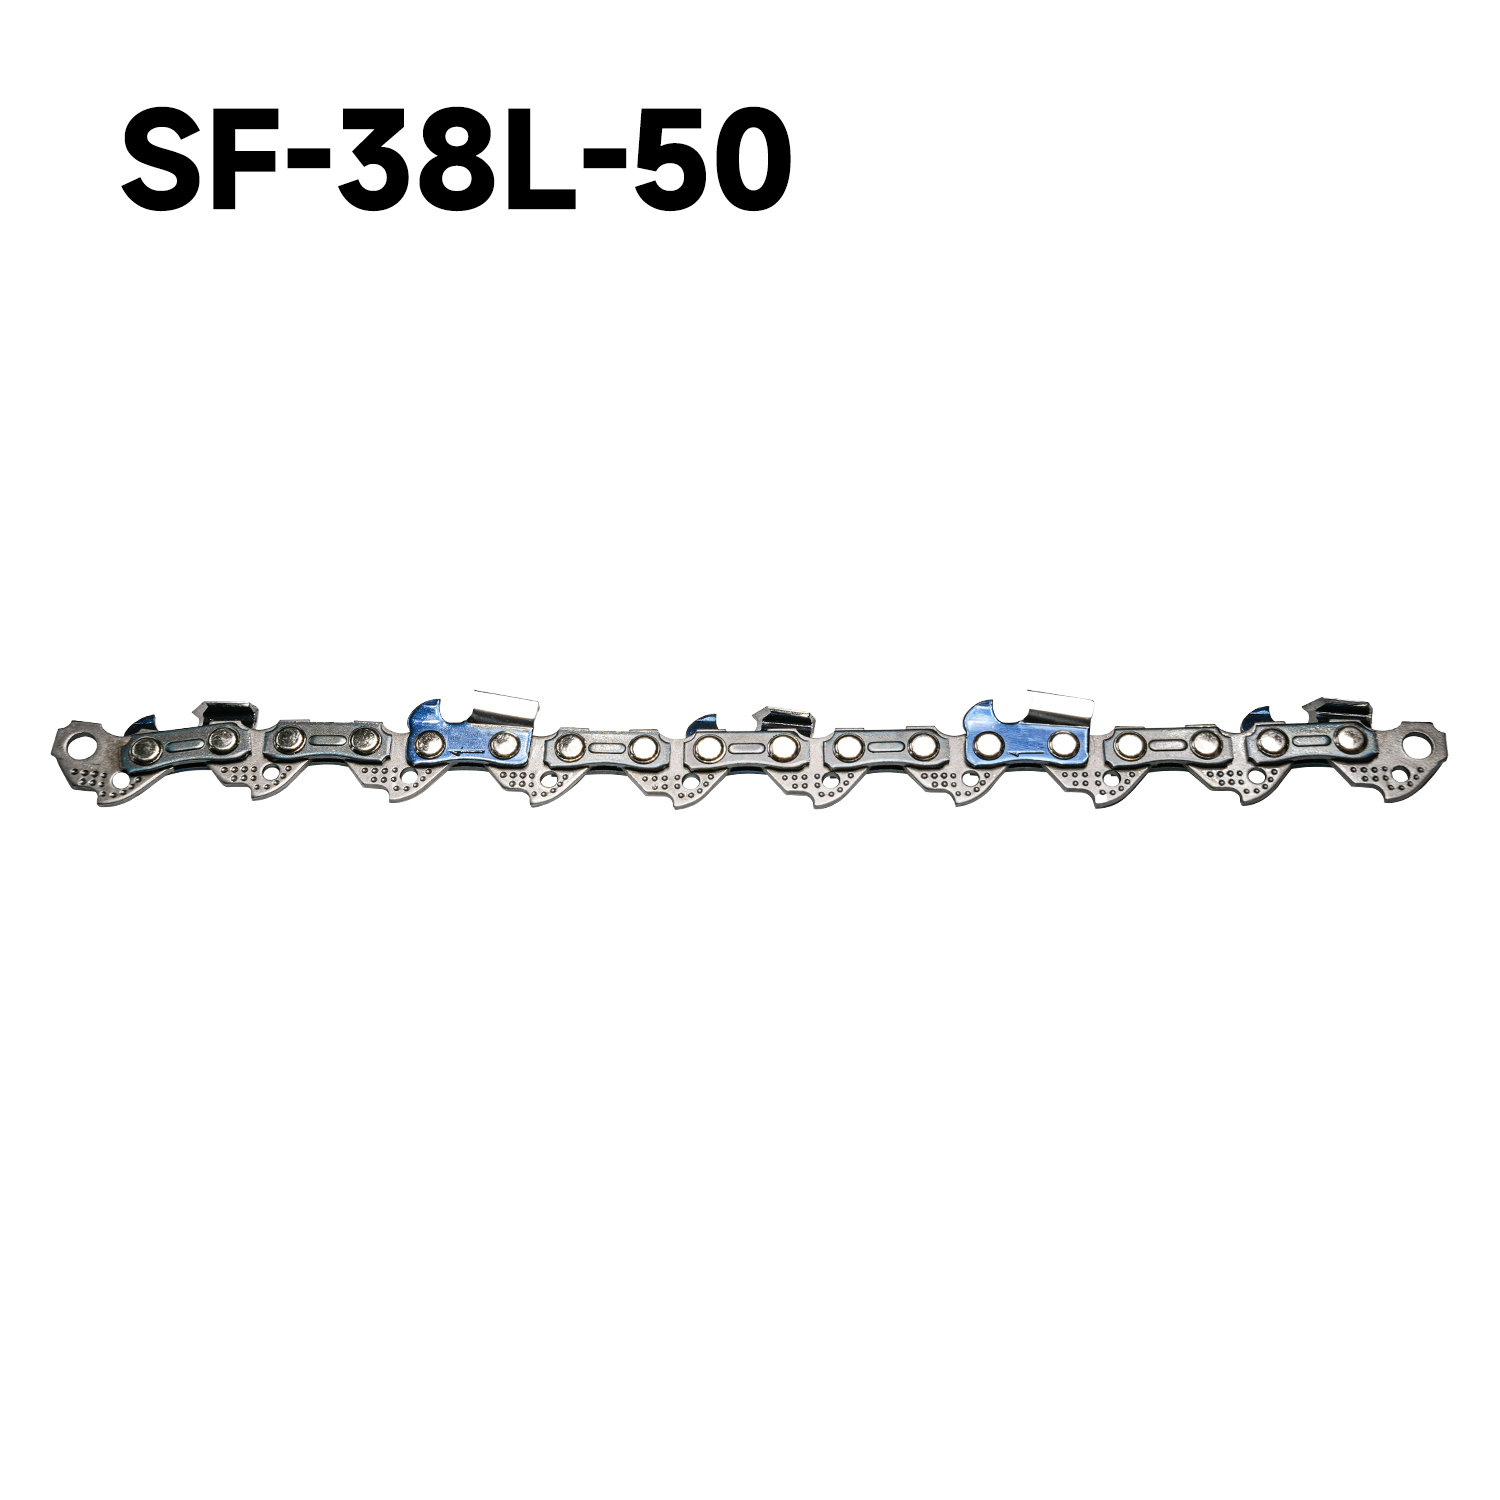 3/8-Inch Low-Profile Chainsaw Chain for Small SawsA lightweight 3/8-inch LP chain for pruning, trimming, and fine cutting on small or home chainsaws, available in several mount types and configurations.View Product →
Chain tension is part of the same system. Even a correctly sized chain will wear a bar quickly if tension is wrong, so it helps to understand chain tension and guide bar wear before changing bar or chain sizes.
Buying a Replacement: A Practical Checklist
Before ordering, put the old bar and the saw side by side and check the whole mounting system, not just the length. A 20-inch bar from one family may not fit another 20-inch saw. Mount slots, oil passages, tail widths, and nose designs differ.
- Saw model and bar mount pattern
- Called length in inches, plus the metric equivalent if needed
- Chain pitch and gauge
- Drive-link count
- Nose type: hardnose, laminated, or replaceable sprocket nose
- Tail profile, oil holes, and chain adjuster clearance
- Condition of the drive sprocket and chain brake
A bar that is close but not exact can run hot, throw the chain, or damage the drive sprocket. If the bar is being replaced because the nose sprocket is worn, a replaceable-nose design can extend service life, but the rivet pattern and nose width must match.
 Replaceable Sprocket Nose Guide Bar for Heavy-Duty LoggingA chromium-vanadium guide bar with a single-rivet replaceable nose and lubrication system, aimed at professional forestry and large-scale logging work.View Product →
When the Bar Is Worn but Still Measures Correct
Length is only one dimension. A bar can measure exactly 20 inches and still be finished. Check the rails for square, the groove for depth, the nose sprocket for side play, and the oil holes for blockage. A straightedge along the rail should not show a curve. A nose sprocket that rocks sideways or feels rough when turned is a wear sign. Blue or discolored rails can indicate overheating from poor oil flow or a dull chain.
In daily firewood work, a bar may last through several chains. In storm cleanup, pinch cuts and dirty wood can shorten its life. Matching the bar to the job matters more than chasing a fraction of an inch. Hardnose bars suit harsh, dirty work, laminated bars suit lighter saws, and sprocket-nose bars are common for routine cutting. The right choice is the one that fits the saw, the chain, and the work.
A Simple Rule to Remember
Measure from the tip to the saw body, round to the nearest even inch, and record pitch, gauge, drive links, and mount pattern. If the number falls between sizes, treat it as a warning sign, not a reason to guess. A few minutes with a tape and the old bar's stampings are far cheaper than a bar that will not oil, a chain that will not fit, or a saw that cuts poorly on the first job.

